Library
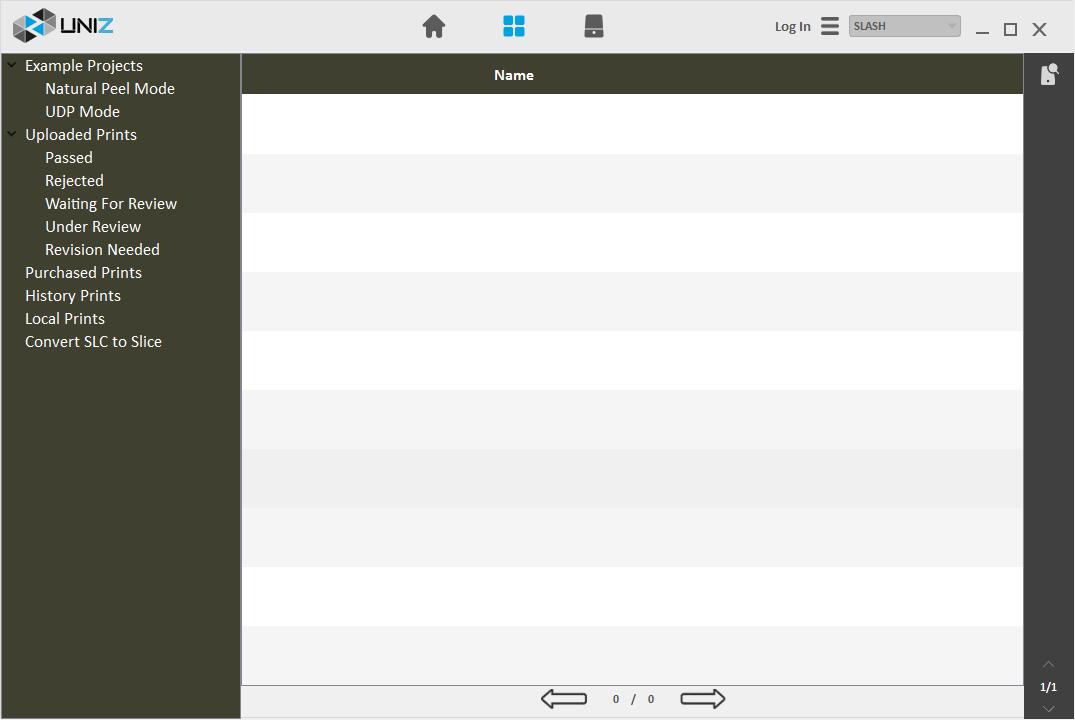
There are six sections in Library interface:Example Projects, Uploaded Prints, Purchased Prints, History Prints, Local Prints and Convert SLC to Slice. Clicking the options on the left will open the corresponding interface.
Example Projects
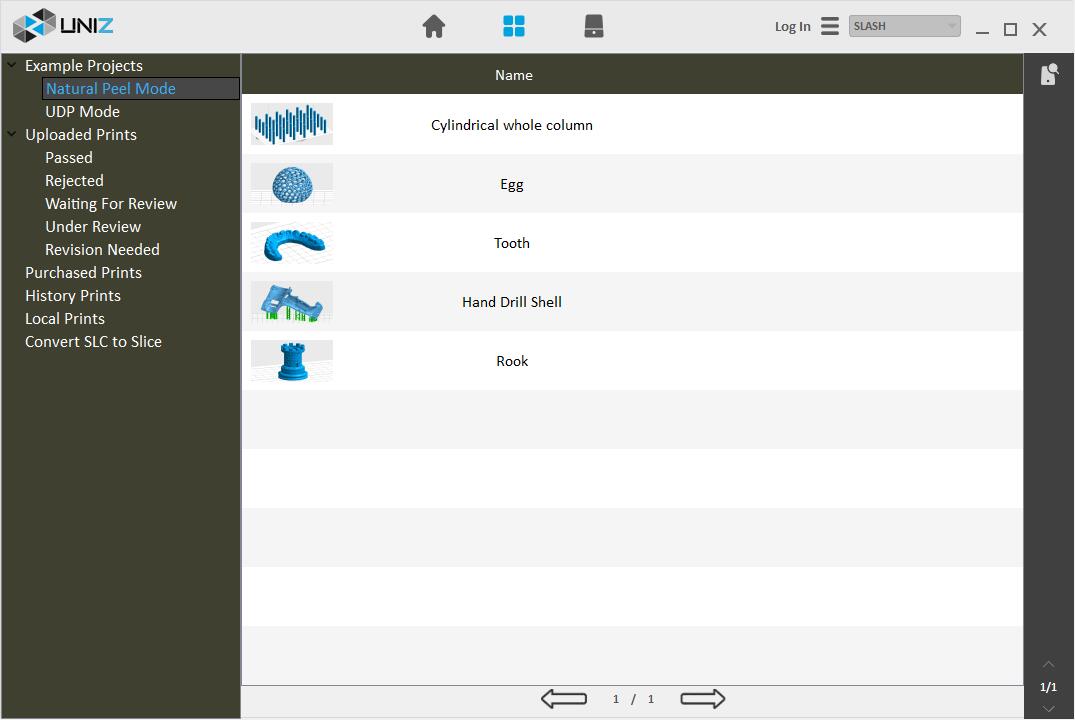
Example Projects are files that UNIZ has set up suitable parameters for printing and they have been verified by real printing. Users can test printer status by printing them after receiving printers. Example Prints consist of NP mode and UDP mode. Double-click the file names on the right to switch into the Control interface and load the file. Users can complete printing by following the printing procedures.
Uploaded Prints
Users can view and manage all uploaded print files under current login account here. The function button of uploading files is at the left bottom of the Control interface.
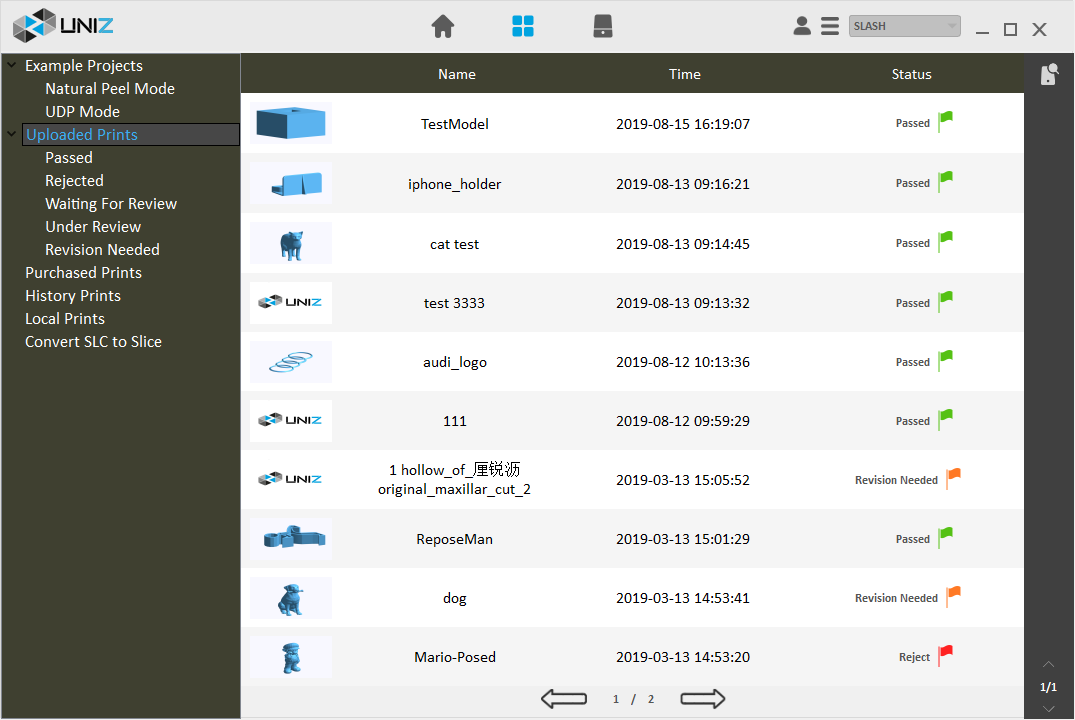
Clicking this menu will open the interface which displays all uploaded model in reverse chronological order including Name, Time and Status.
There are five kinds of status: Passed, Rejected, Waiting For Review, Under Review, and Revision Needed. Clicking any of the submenus under Uploaded Models will filter out the models in the corresponding status.
Right-clicking on the model name or time will pop up menu for viewing, editing or deleting.
View
Print files in all status support the viewing function. After clicking the submenu for viewing, the system will pop up the box displaying the detailed information of the printed file, including name, description, picture, print information, license, etc.
Edit
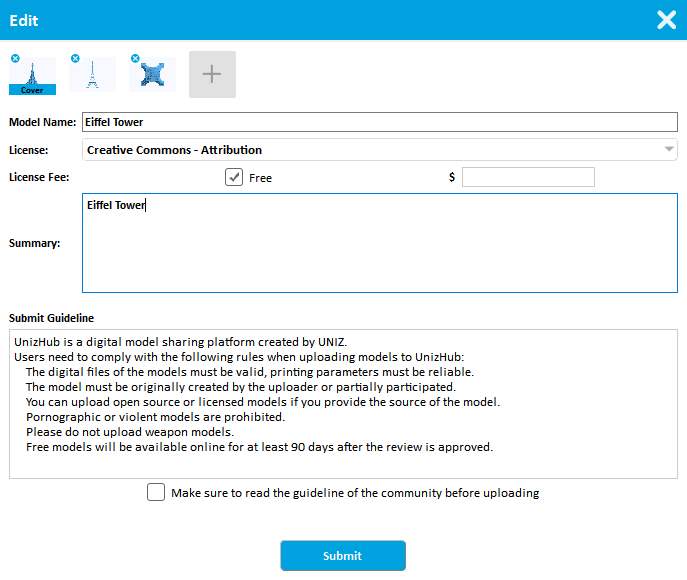
Print files only in Waiting For Review and Revision Needed status support the editing function. After clicking the submenu for editing, the system will pop up the box for editing the printed file including name, description, picture, print information, license, etc.
Delete
Print files in all status support the deleting function. After clicking the submenu for deleting, the print files will be eliminated and those online will be taken down.
Purchased Prints
Users can view print files purchased by the current login account, print the files and comment here.
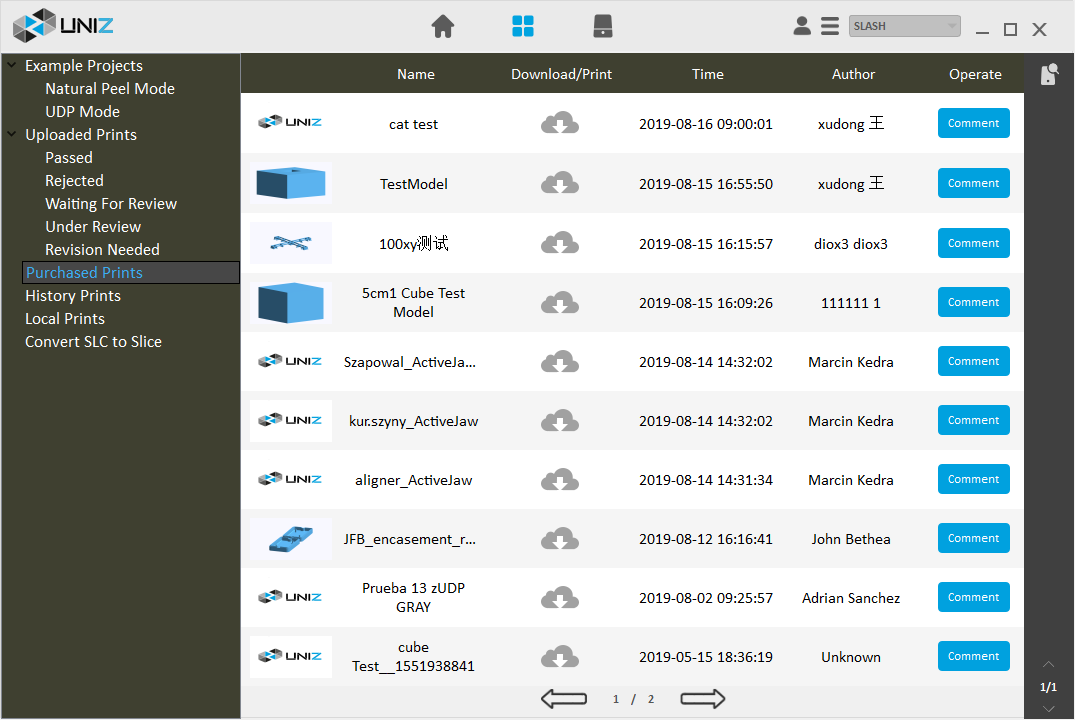
There are three purchased print files status:
- Not downloaded
 means the model is not downloaded; clicking the icon will start downloading;
 - Downloading
 indicates the model is under downloading;
 - Downloaded
 means the model has been downloaded; clicking the icon will start printing.
Note: please select the printer on the right before printing
Comment
Users can leave comments for their purchased print files.
History Prints
Users can check all the current computer-generated printed files here. History prints support re-printing: Select the printer on the right and click the  button of the file for printing, and then the file will be transferred to the printer and printed.
Local Prints
Users can view the print files from other sources stored on the machine and utilize the one-click printing function.
Select the printer on the right and click the  button of the file for printing, and then the file will be transferred to the printer and printed.
Modify Storage Path
Right click "Local Prints" and click "Select Folder" to modify the storage path of the print file.
Convert SLC to Slice
Now users can convert SLC (stereo lithography contour) format file to Uniz slices.
Layer Thickness Requirements
Most resins have a variety of layer thickness as follows:
Layer thickness should meet the above requirements, otherwise the height of the printed model will be inconsistent with the actual.
Select SLC save path
Right-click "SLC Conversion Slice". Click "Select Folder" in the pop-up menu. Select the path of SLC in the pop-up dialog box to save the file.
Click "SLC conversion slice". The list on the right shows all SLC files under the current storage path.

Click  button on the file needed to be converted to pop up the conversion settings dialog box.
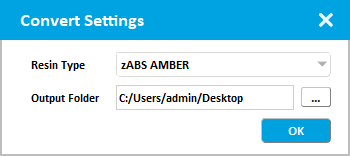
Select resin type and save path of UNIZ slice file. Then click “OK” to start converting
Use of UNIZ slices
Referring to the "Local Print File" function, you can preview, delete and print slice files by modifying the local file path to the converted UNIZ slice file storage path set in the previous step.
In This Article
- Example Projects

- Uploaded Prints

- Purchased Prints

- History Prints

- Local Prints

- Convert SLC to Uniz slice

The Previous Articles
- Design Specification
- Installation & Setup
- Printer Network
- Activate the Printer
- Trial and Trial Expiration
- Upgrade the Printer License
- Upgrade the Printer Firmware
- Remote Monitoring
- Accessory replacing remind and timer reset
- Store
- library
- Set Up Your Print
- One Click Print
- Generate Support
- Slice
- Print Tools
- Edit 3rd Resin
- Edit Preference
- Additional Tools

