How UNIZ Dental Works
This article applies to NBEE, SLASH 2 PLUS
UNIZ Dental is a print preparation software and let your dental workflow automatically with default and customizable presets for each indication. In addition to primary functions such as layout, orientation, adding supports, slicing, UNIZ Dental also provides many professional dental tools such as Trimming, Adding Base, Label, Repair and Auto Arrange.
Step 1: Open UNIZ Dental on your computer.
Step 2: Choose the appropriate settings according to your printer and material, including Printer Type, Target Printer, Indication, Material Manufacturer and Profile.
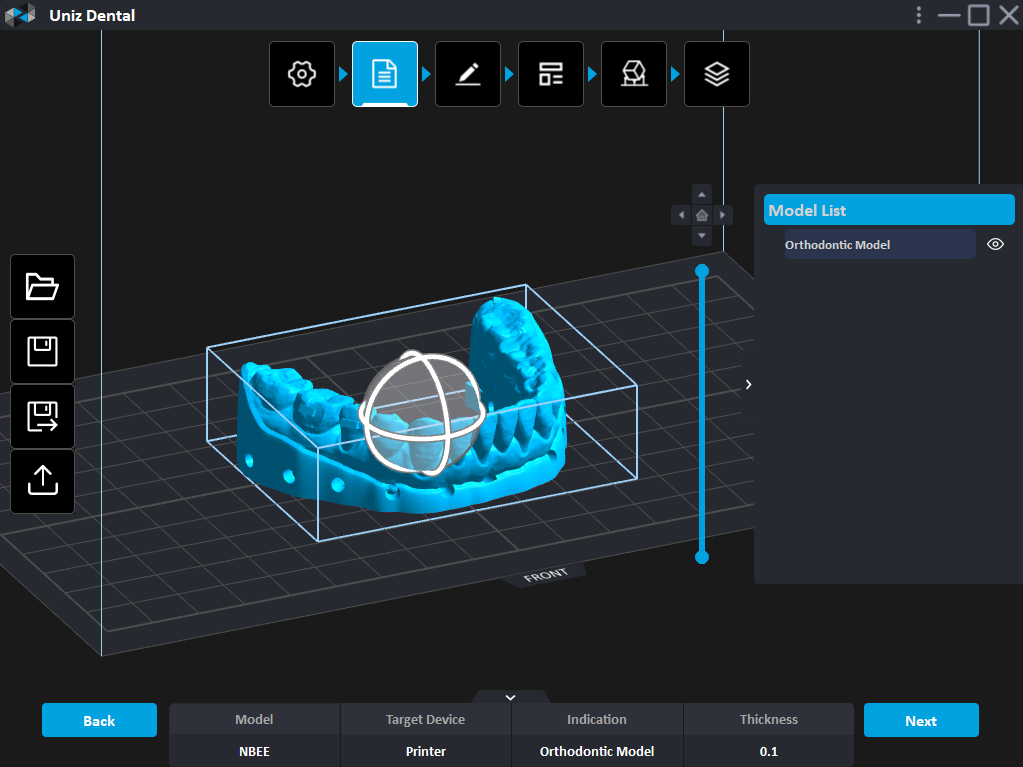
Step 3: Load 3D models corresponding to the selected Indication.
Step 4 (Optional): This step is only available when you select Scan To Model or Model Indication.
In this step, you can convert the scan data into a dental model or edit the solid model, including Trimming, Adding Base, Label and Repair.
Step 5: Use the layout tools for preparation features, including Rotation, Position, Auto Arrange and Copy.
Step 6: Add supports using auto-supports or manual supports tools.
Step 7: Slice and send the slicing file to target printer through U disk or network, then start the print on printer’s touch screen.
