INTERFACE INFORMATION
You may check device information, control the printer, and start printing projects using the touch screen on the right side of SLASH 2 PLUS.
MAIN INTERFACE
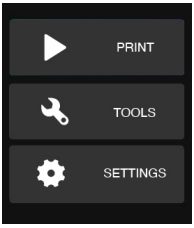
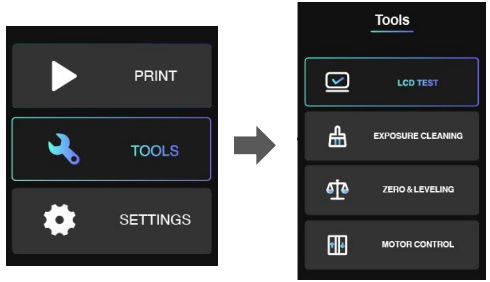
There are three main functions: Print /Tools/Settings.
PRINT WITH USB FLASH DRIVE
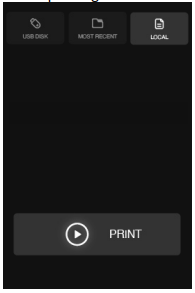
Insert a Flash Drive to the USB port at right side of printer. Click PRINT menu, then click USB DISK icon. You will see a list of slice files in flash drive. Choose and click a slice file you want to print and click PRINT button, the printer will step into normal printing program.
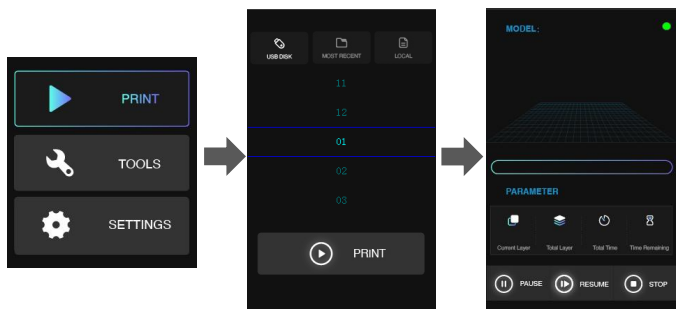
In this interface, you may check the preview and printing parameters of the print. Also you may pause/resume or stop the printing program by click the buttons at bottom.
PRINT RECALL
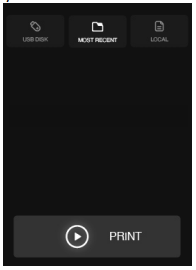
The last file printed on the printer will be shown in the MOST RECENT interface. You may print a model second time very expediently with this function
PRINT LOCAL FILES
SLASH 2 PLUS can receive the sliced files from PC via Wi-Fi and store in local memory. You can find the file in LOCAL menu (Note: it can only memory one slice file). Choose the file in this interface and click PRINT button to start printing.
TOOLS
LCD TEST
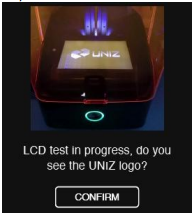
Click LCD TEST you will see the UNIZ Logo appears on the LCD screen. If the logo can be shown completely and there is no any flicker, that means the LCD screen is in good condition.
EXPOSURE CLEANING
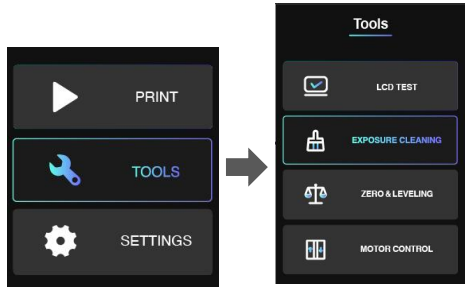
When a failed print occurs and there are some residues left in the bottom of Resin Tank. You could use EXPOSURE CLEANING function to clean the residues. The printer will cure the whole screen and make residues adhere on solidified piece. After that, please wear nitrile gloves and take the solidified piece out.
RESET Z-AXIS ZERO POSITION AND LEVELING BUILD PLATFORM
If you change for a new Build Platform or the printing model may not stick onto the Platform, please reset z-axis zero position and leveling the Build platform. You could use an A4 paper and the Cross Screwdriver sent with your printer.
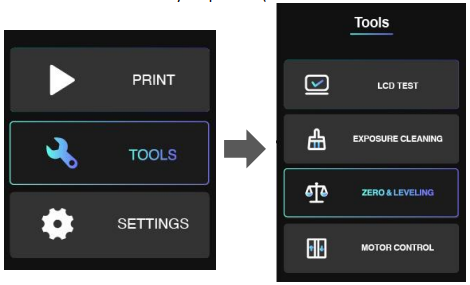
After leveling, please put the A4 paper under Build Platform and reset again. It finishes if you may feel the frictional force between Platform and A4 paper.
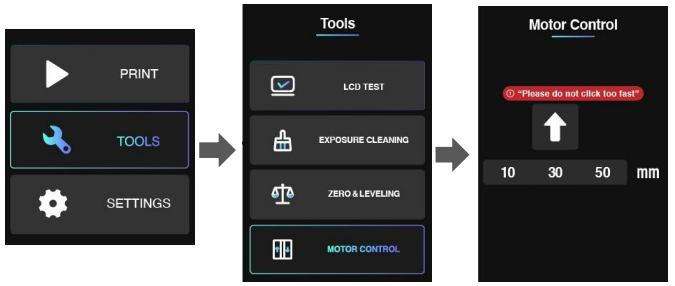
MOTOR CONTROL
If you want to control Build Platform to move upwards manually, you could enter MOTOR CONTROL menu. Choose a distance (10/30/50mm) first, and then click the Arrow. Please do not click too fast and take an eye to watch the distance between Platform and top position.
SETTINGS
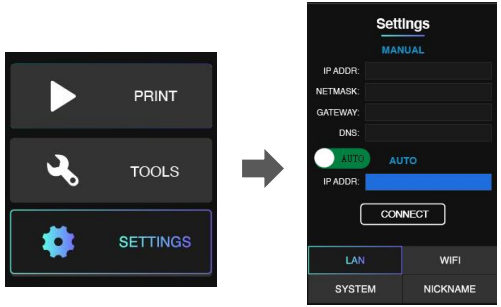
SET LAN
You could connect the printer with your router via Ethernet cable. Go the SETTINGS menu. Click LAN button. Set to AUTO mode on. The printer will get IP address automatically. Click CONNECT button.
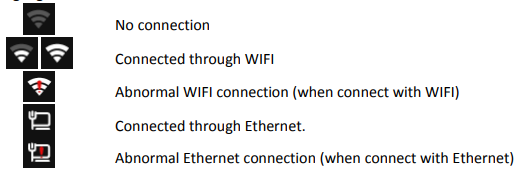
If you set AUTO mode off, you need to type IP address, Netmask, Gateway, DNS manually. Then click CONNECT button. When you could see the Ethernet icon at right top of interface, it means the printer in connected with network.
SET WIFI
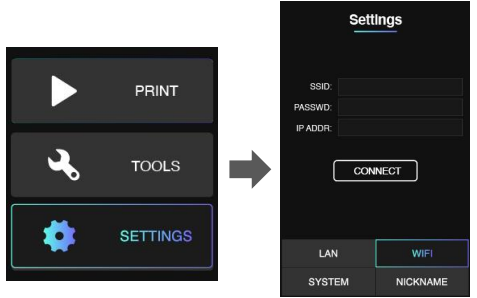
You could connect the printer with your router via WiFi. Go the SETTINGS menu. Click WiFi button. Click SSID, there will be a list of available WiFi. Choose the WiFi network and enter password. Click CONNECT button. When you see the IP address is shown, it means the printer is connected well with WiFi network. There should be a WiFi icon appearing at right top of this interface.
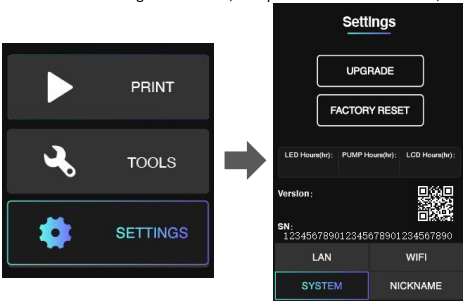
UPGRATE FIRMWARE OR FACTORY RESET
Enter SETTINGS menu and click SYSTEM button, you will find the SN number. You could scan the QR coder to get SN number as well.
You could find total working hours of LED, Pump and LCD in this interface, too.
SET PRINTER NICKNAME
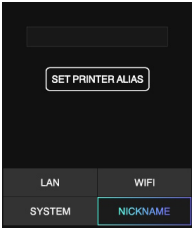
Enter SETTINGS menu and click NICKNAME button, you could set your own printer alias here.
MORE DETAILS
1. There is an indicator light on the main interface and printing interface.
Staying in green means the printer is ready for printing.
Blinking in green means the print is in progress.
Blinking in red means the print program is stopping and the platform is moving upwards.
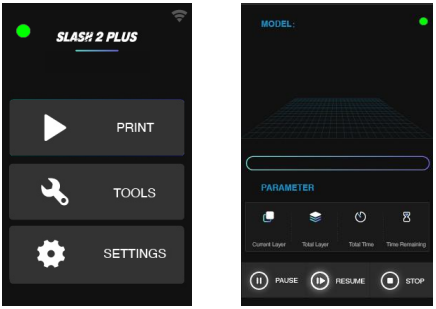
2. While the printer is connected with internet through Wi-Fi, the icon on the right-up side will turn to highlighted state.
