GET STARTED
Now your printer has arrived you’re ready to unpack it and set it up! Carefully unpack your printer and set it up according to the following instructions.
UNBOXING
The printer comes in reusable, durable packaging that has been specially designed to protect your printer in transport. To properly unpack your printer, please follow the steps described below.
START UNBOXING
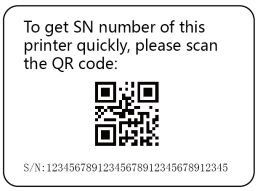
You can scan the QR code on the packaging box to get the SN number of your printer, the following is an example:
OPEN IT UP
①Remove the four handle locks around the bottom of the box.
②Use the holders to lift the upper box up, and leave it to the side.
REMOVE THE FOAM PACKAGING
③Remove front and rear foam.
④Remove top foam.
TAKE THE PRINTER OUT
⑤Remove the plastic wrap, then flip out the two handles on the sides of the printer.
⑥Hold both handles and lift the printer out of the bottom foam, leave it aside and flip the handles back.

GET THE ACCESSORIES
① Remove the four screws on the back of the printer and the bottom rear cover plate.
② Remove the packing strap.
③ Take out the accessory box, resin box, and Build Platform box.
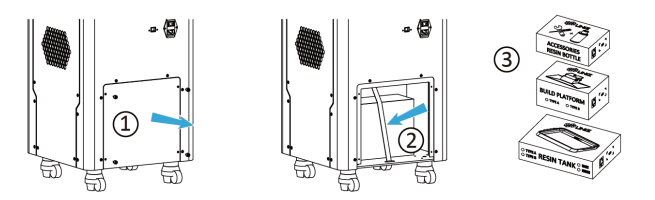
④ The accessory box contains essential accessories including power cord and flash drive etc.


