Printer Installation
1. Leveling of the printer
(1) Level inspection:
The level of the printer determines whether the automatic material loading system can work properly. The liquid level sensor can feed information on resin remaining accurately to the printer only when the liquid level is horizontal.
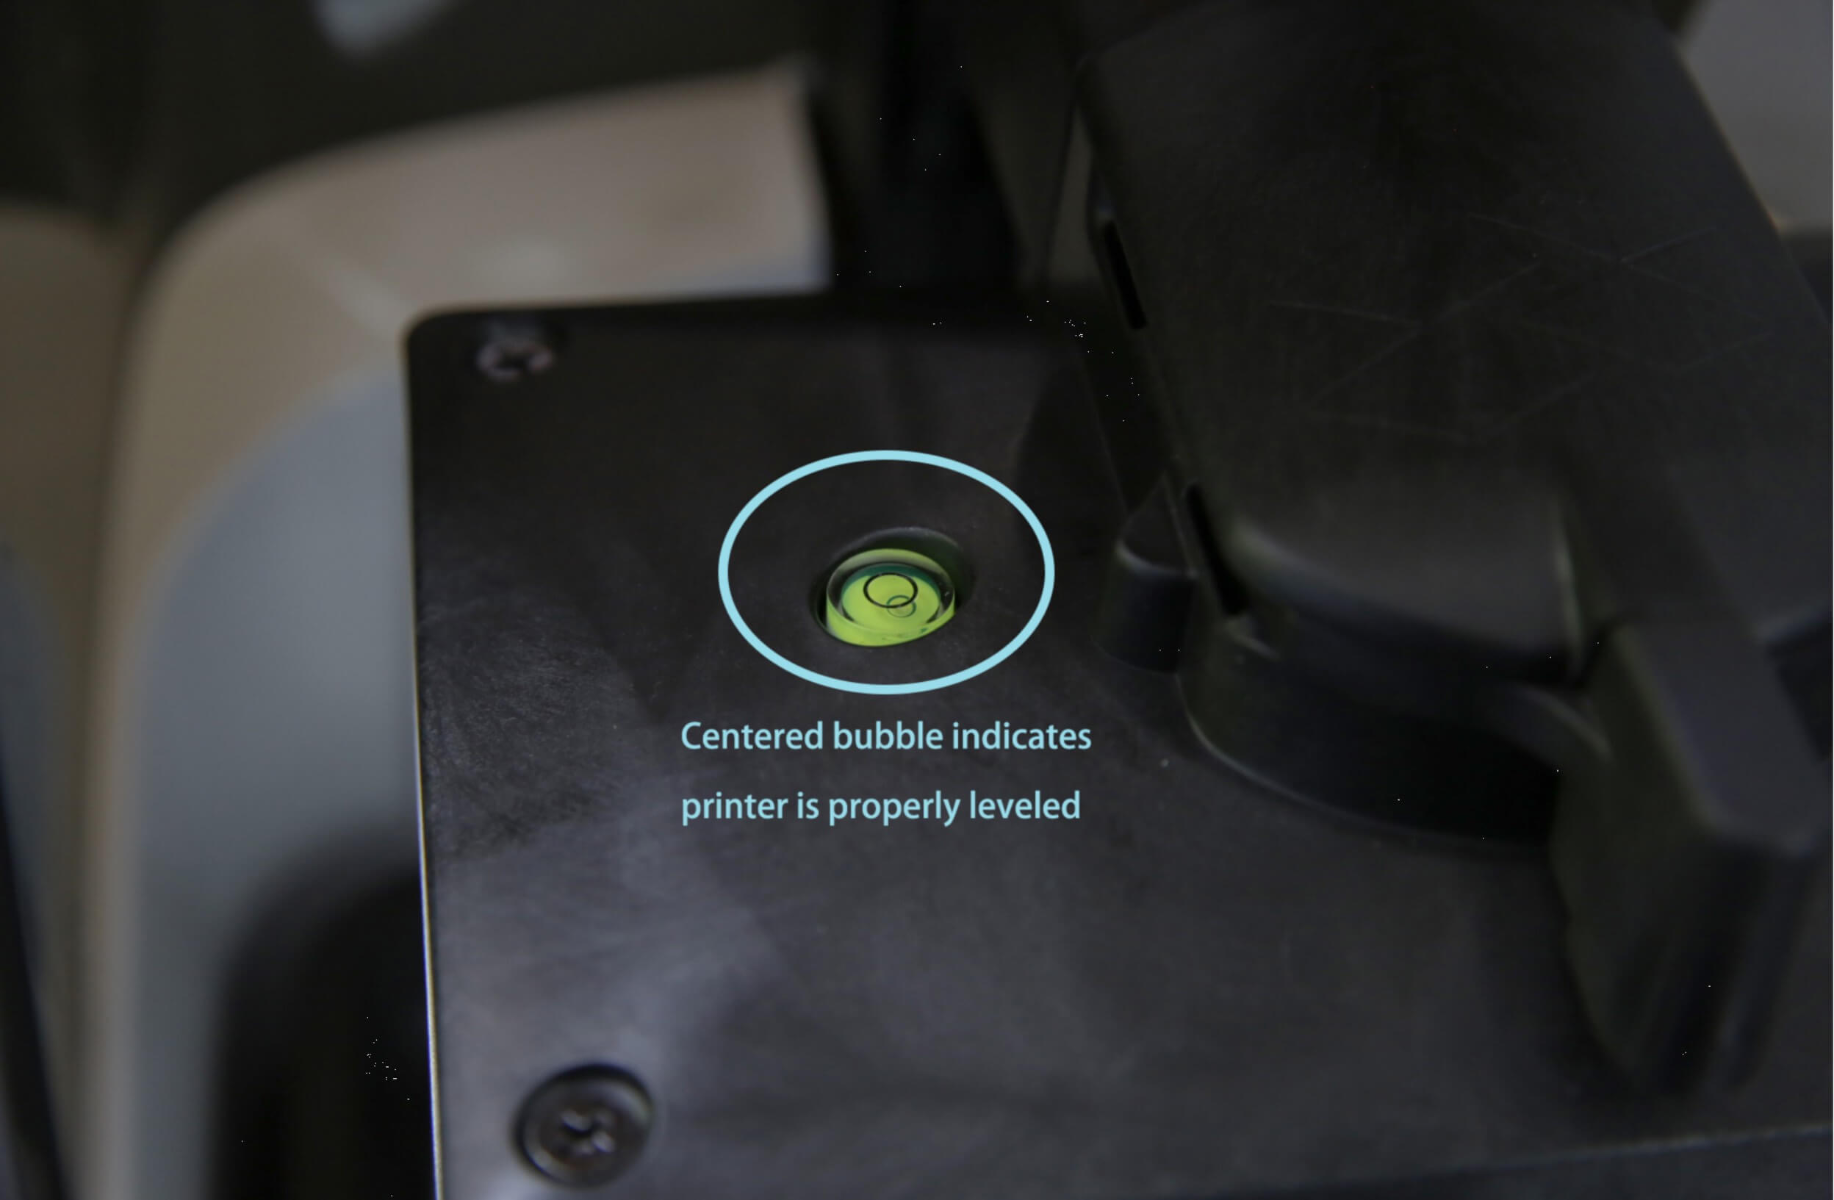
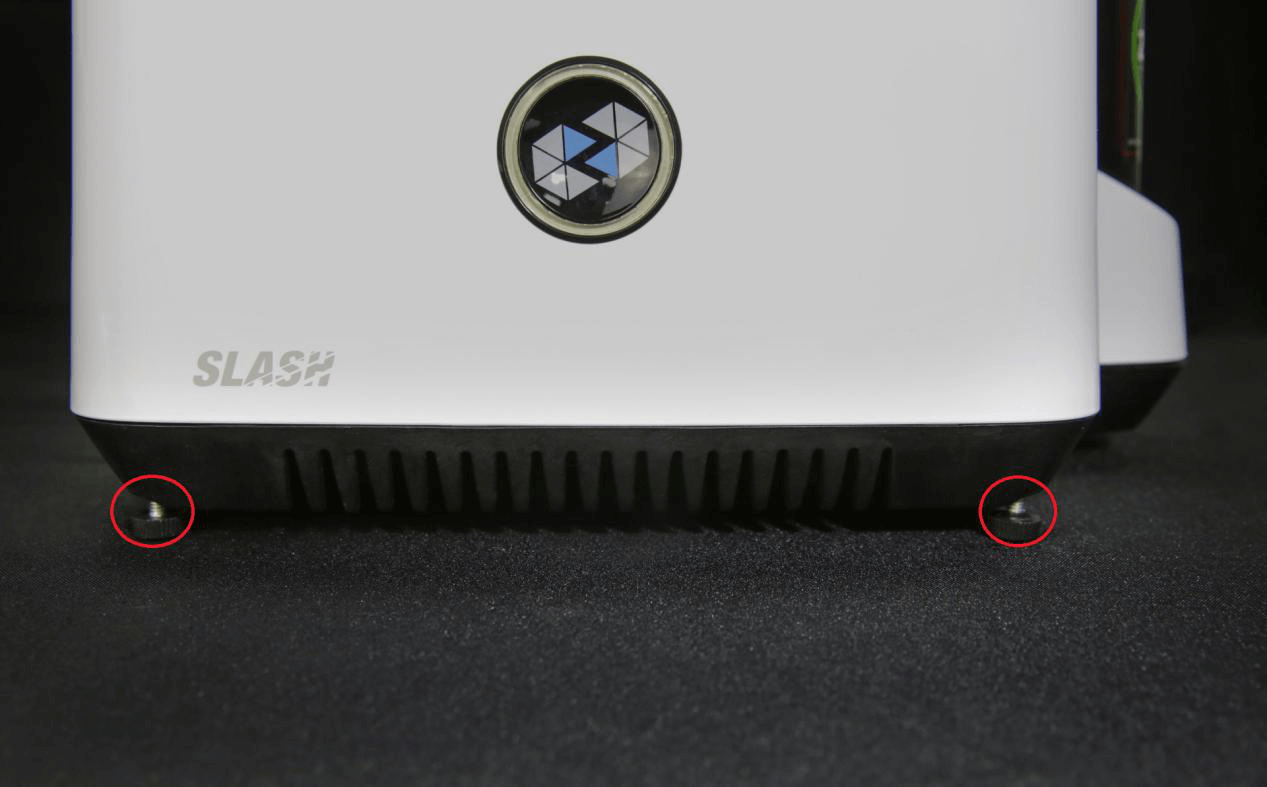
(2) Level adjustment:
The level of this printer is maintained by four support feet. After placing the printer on a flat leveled surface, the level indicator on the building platform can be used to judge whether the printer is leveled. If the bubble is not in the center of the circle, adjust the four level screws to bring the air bubble into the center of the circle.
2.Installing the resin tank
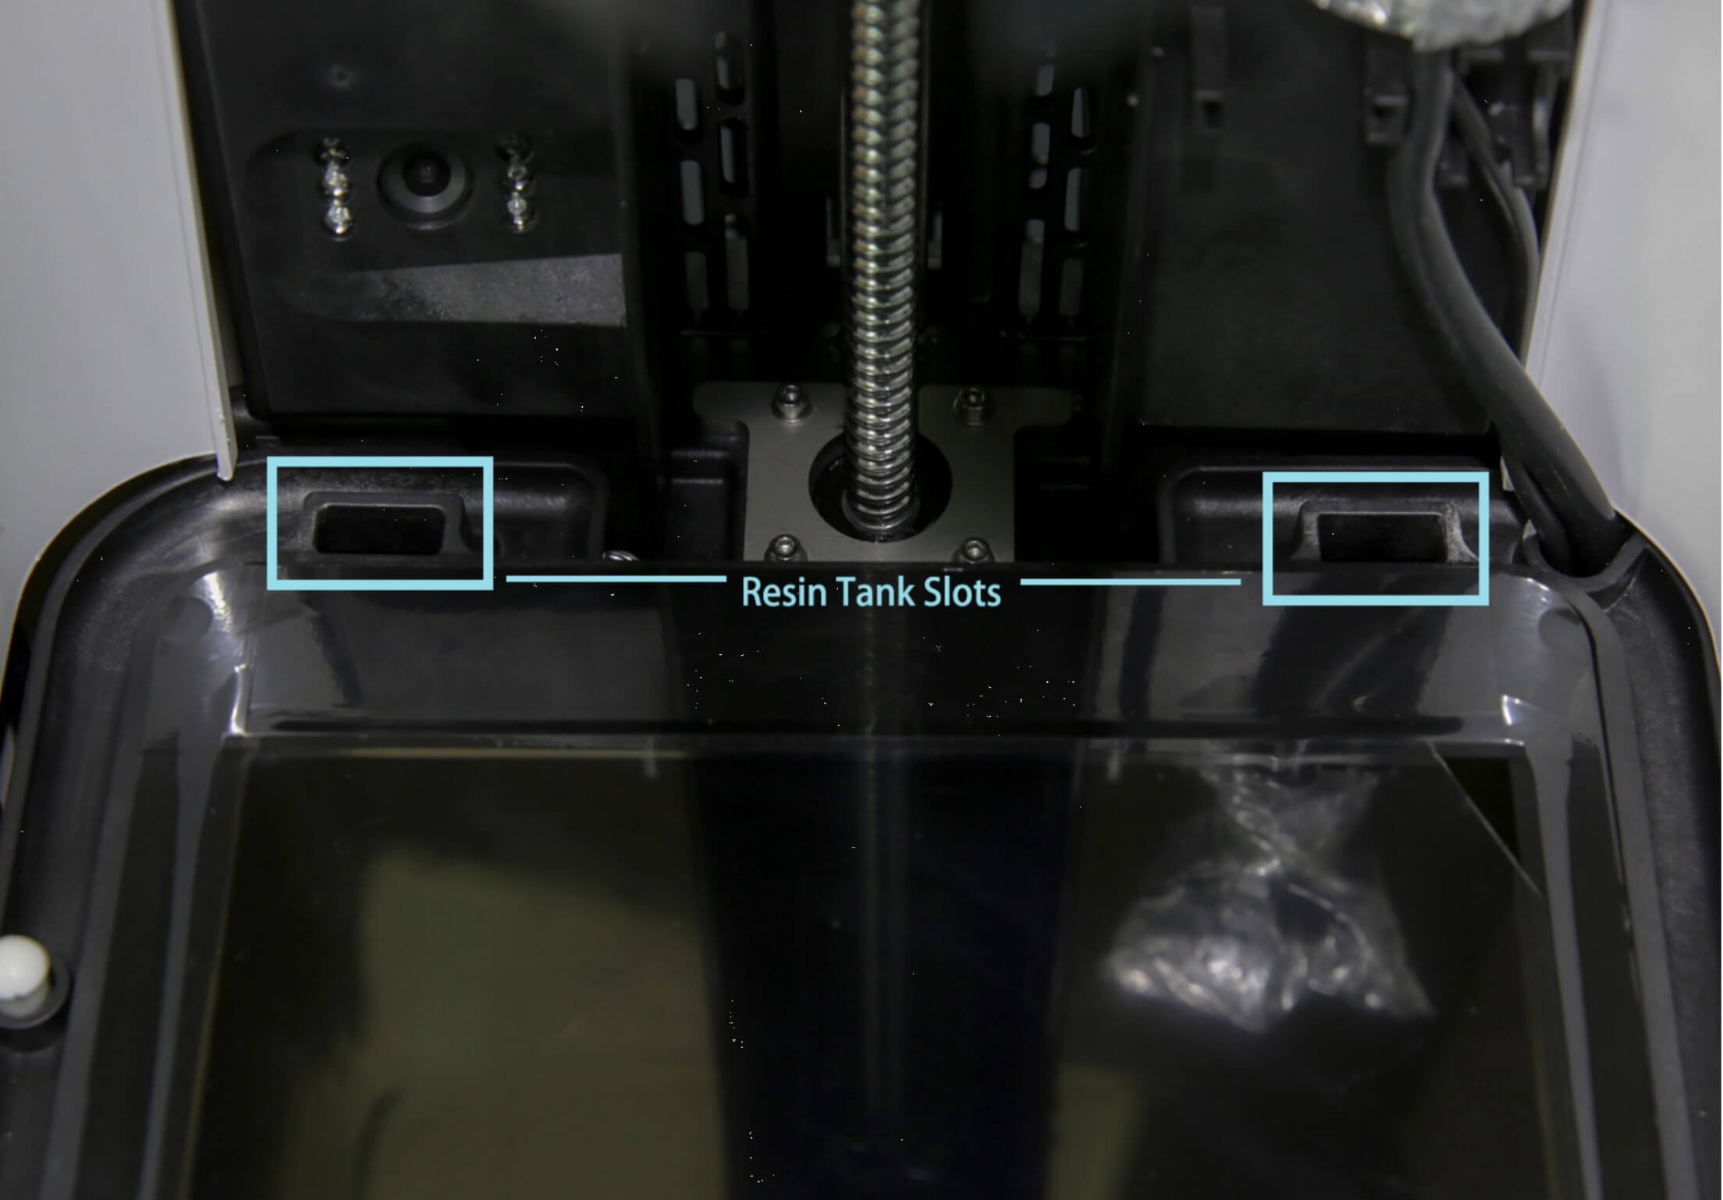
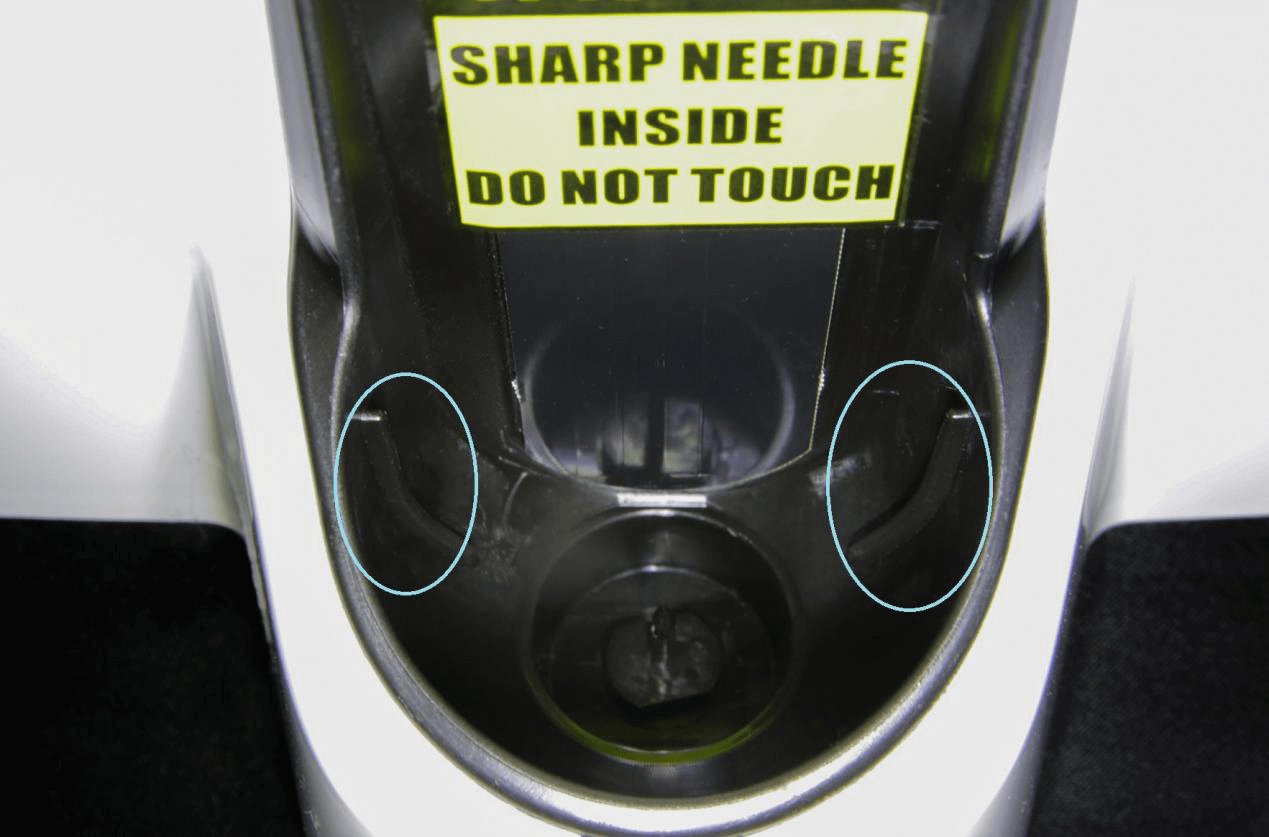
(1) Find the two locating slots on the inner side of the printer
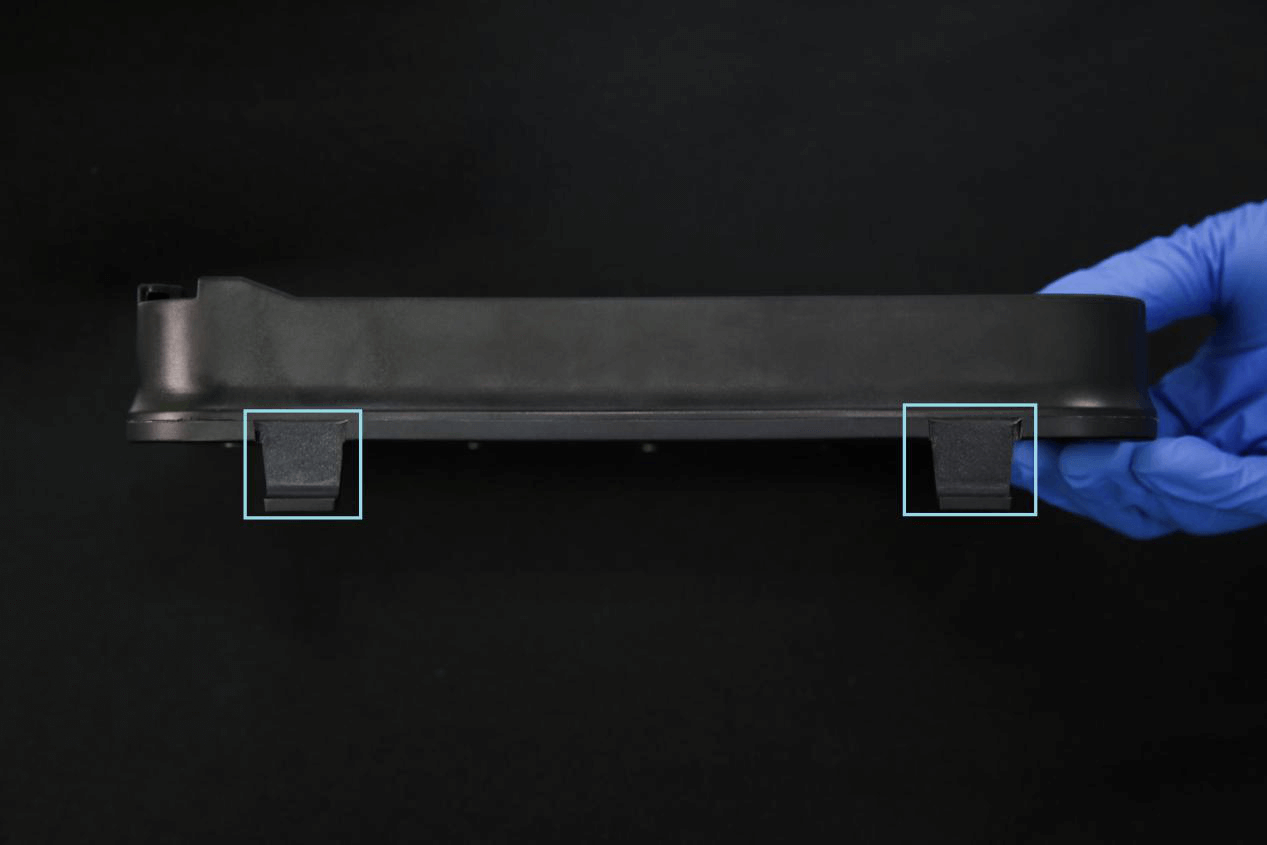
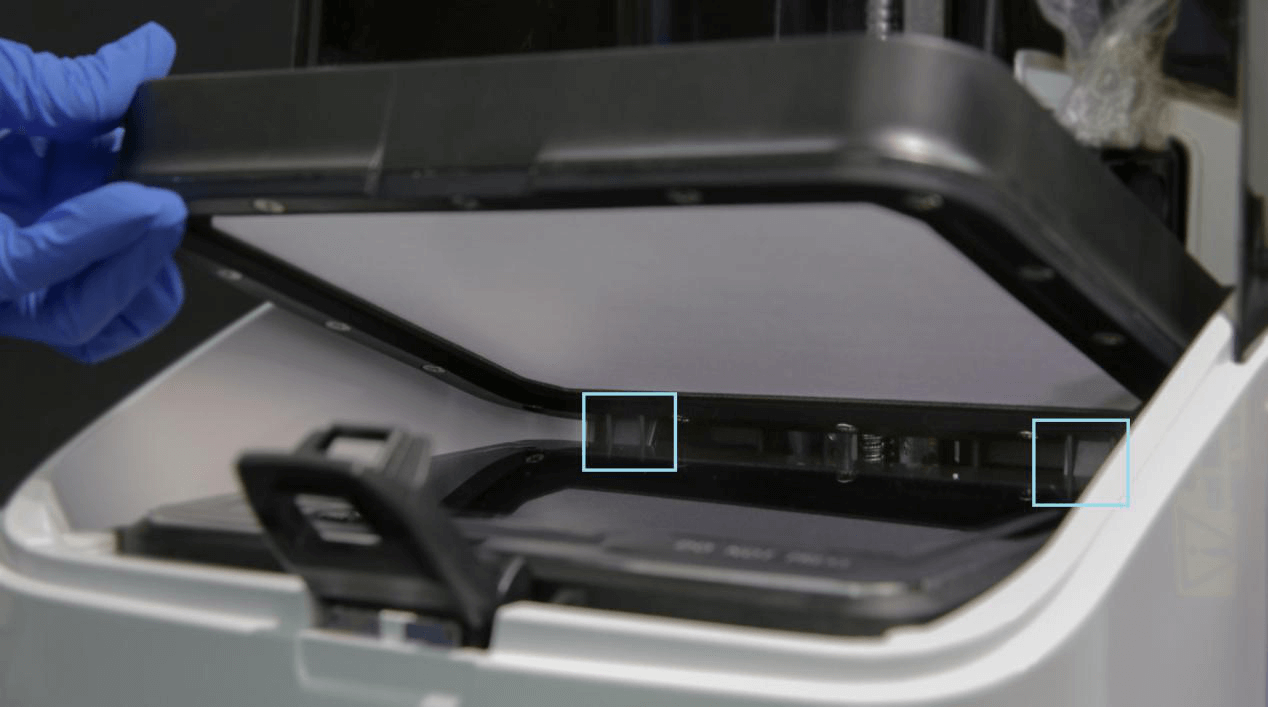
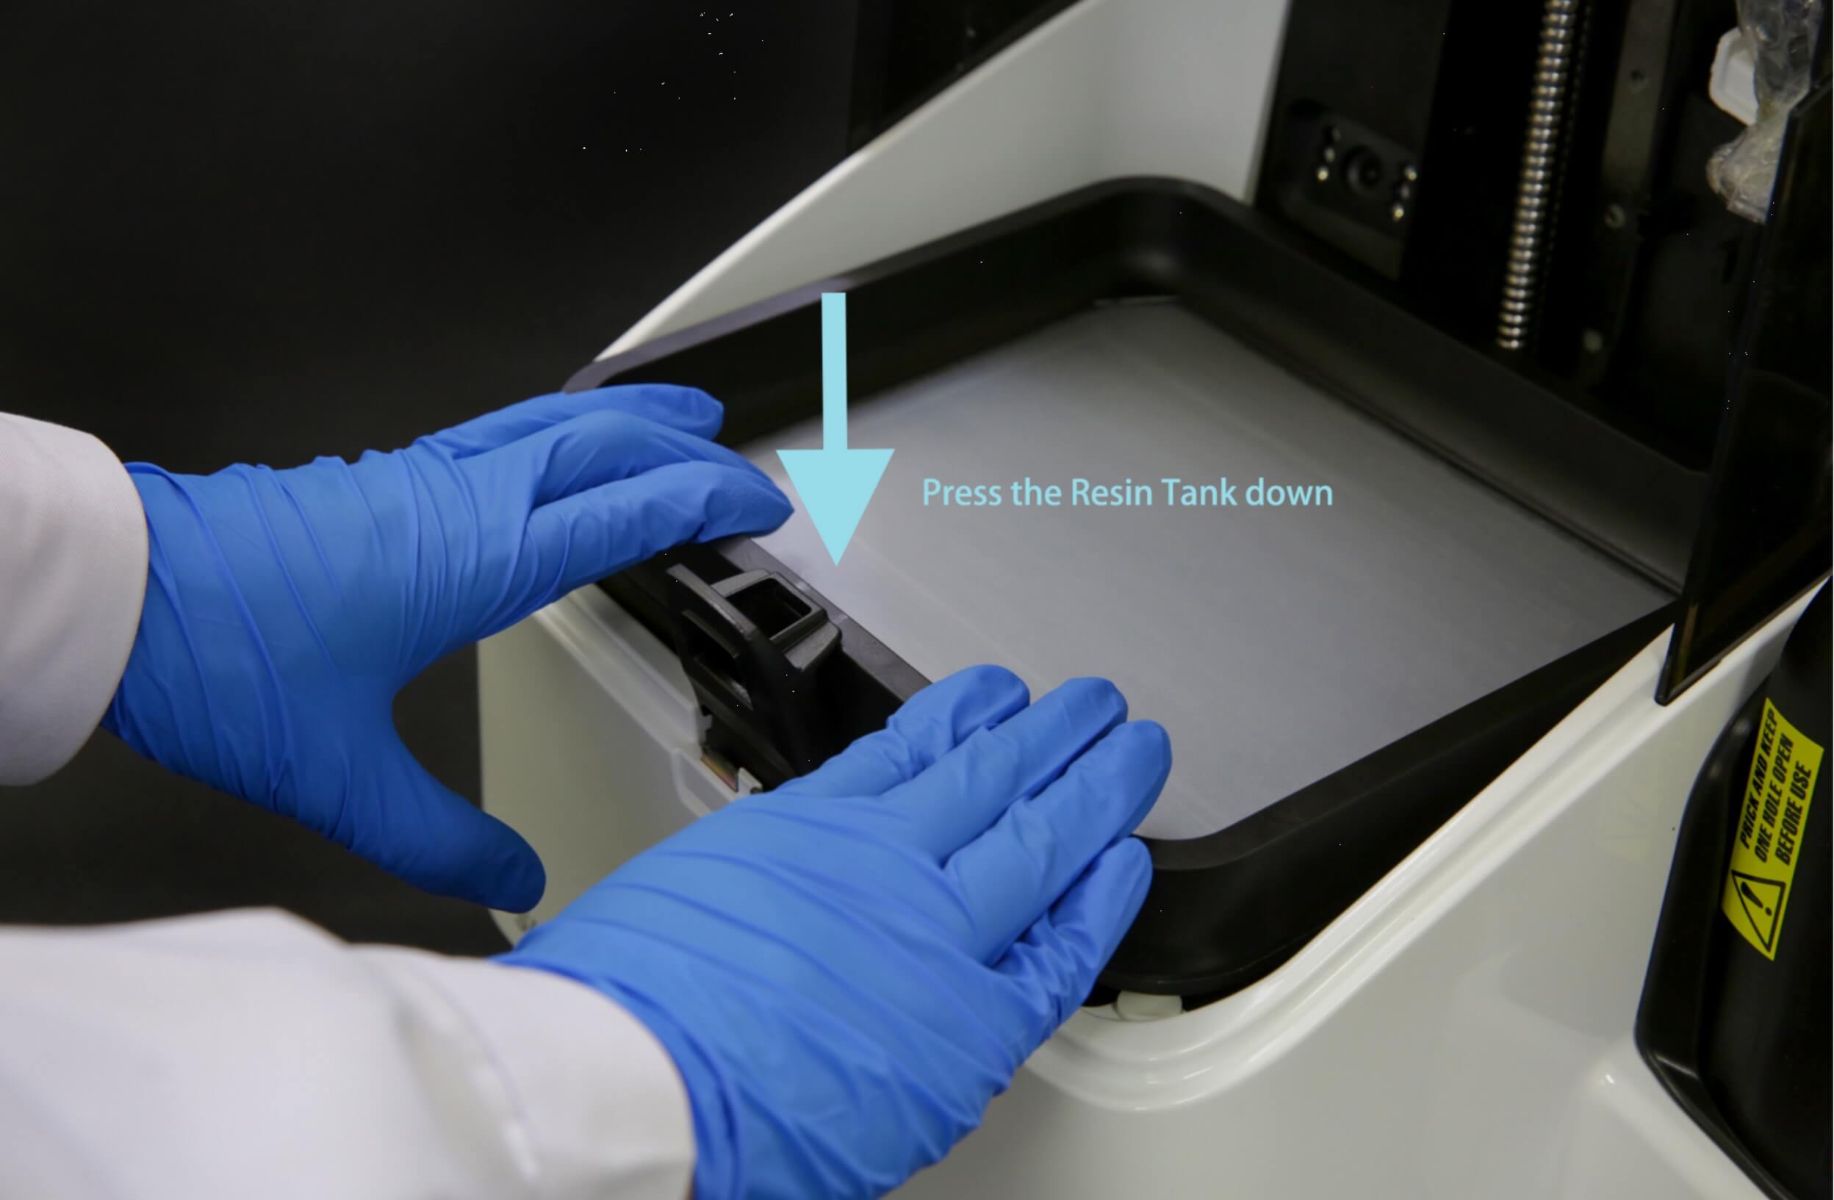
(2) Place the locating feet on the resin tank inside the locating slots at an angle of 30-40°. Naturally level the resin tank to make it fit with the screen.
(3) Push the resin tank buckle until the resin tank is fixed tightly.
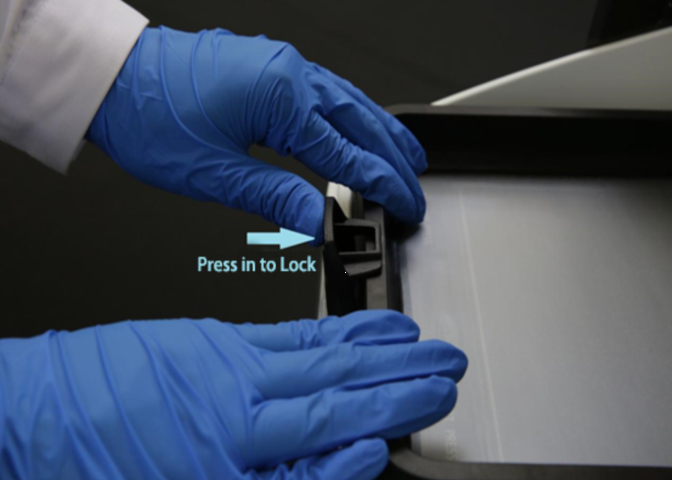
(4) Checked if the resin tank is placed tightly, if it’s still loose, repeat the steps above until it’s tight.
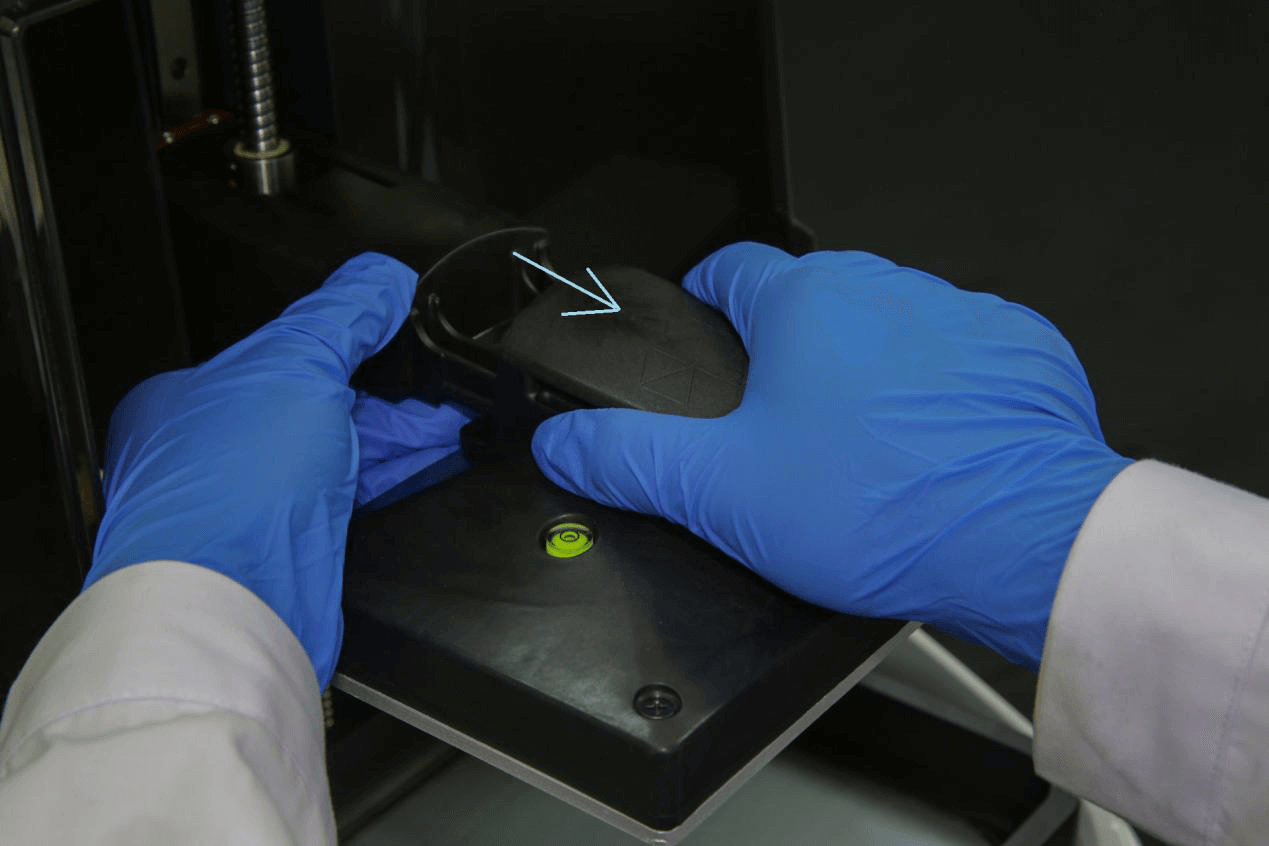
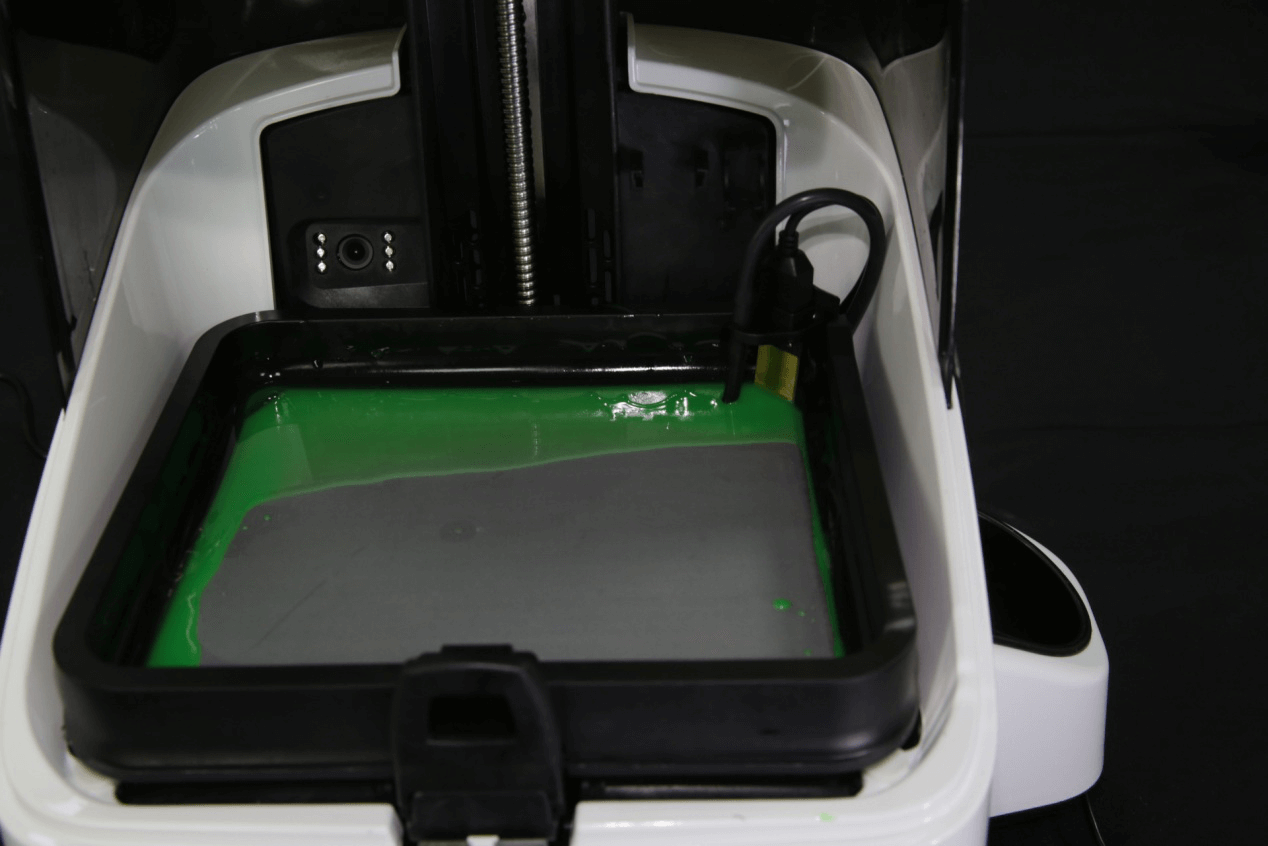
3. Installing the liquid level sensor
In the following we will be introducing how to setup the liquid level sensor. In the shock-absorption package are the liquid level sensor and the feedstock pump tube.
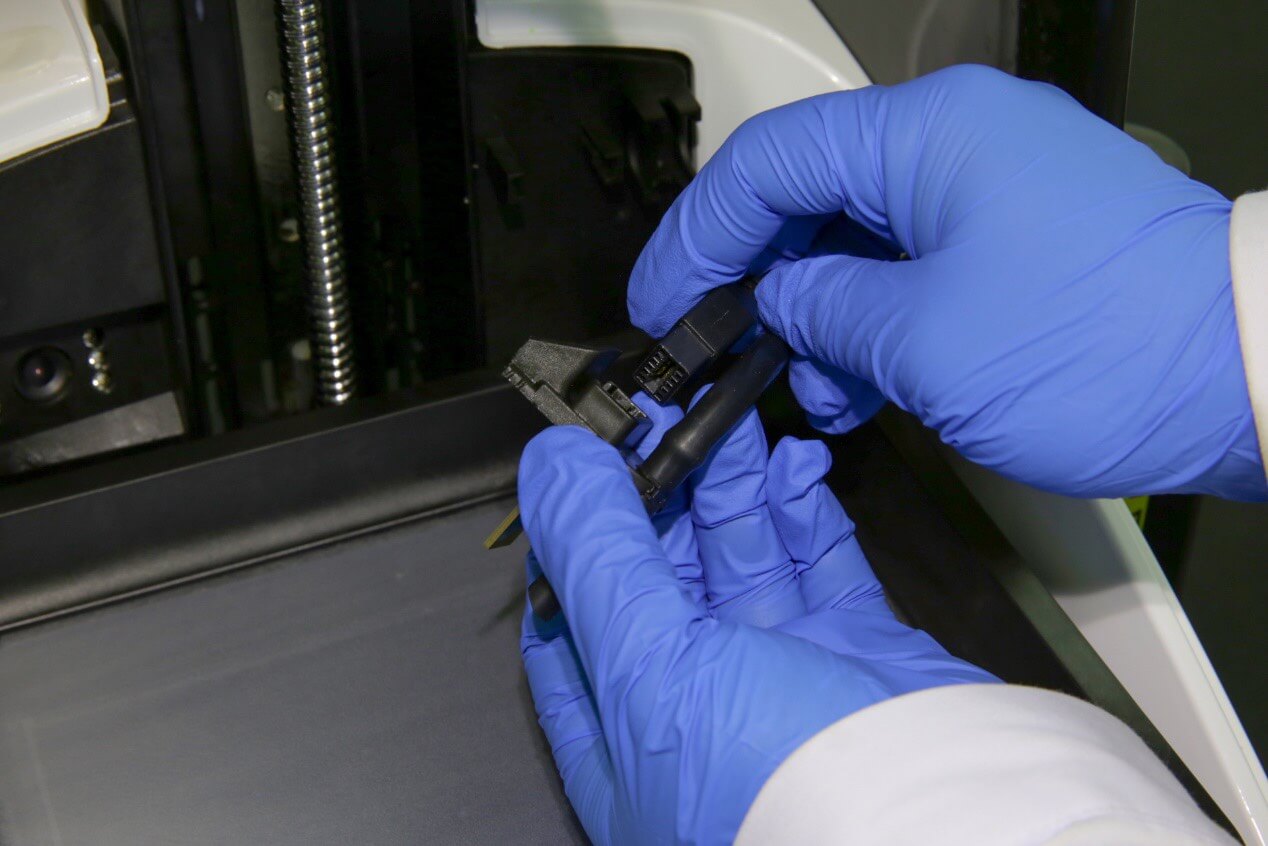
(1)Detach the liquid level sensor
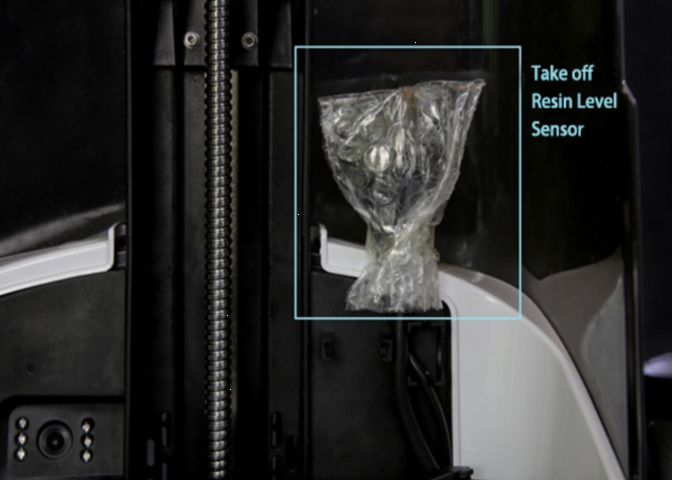
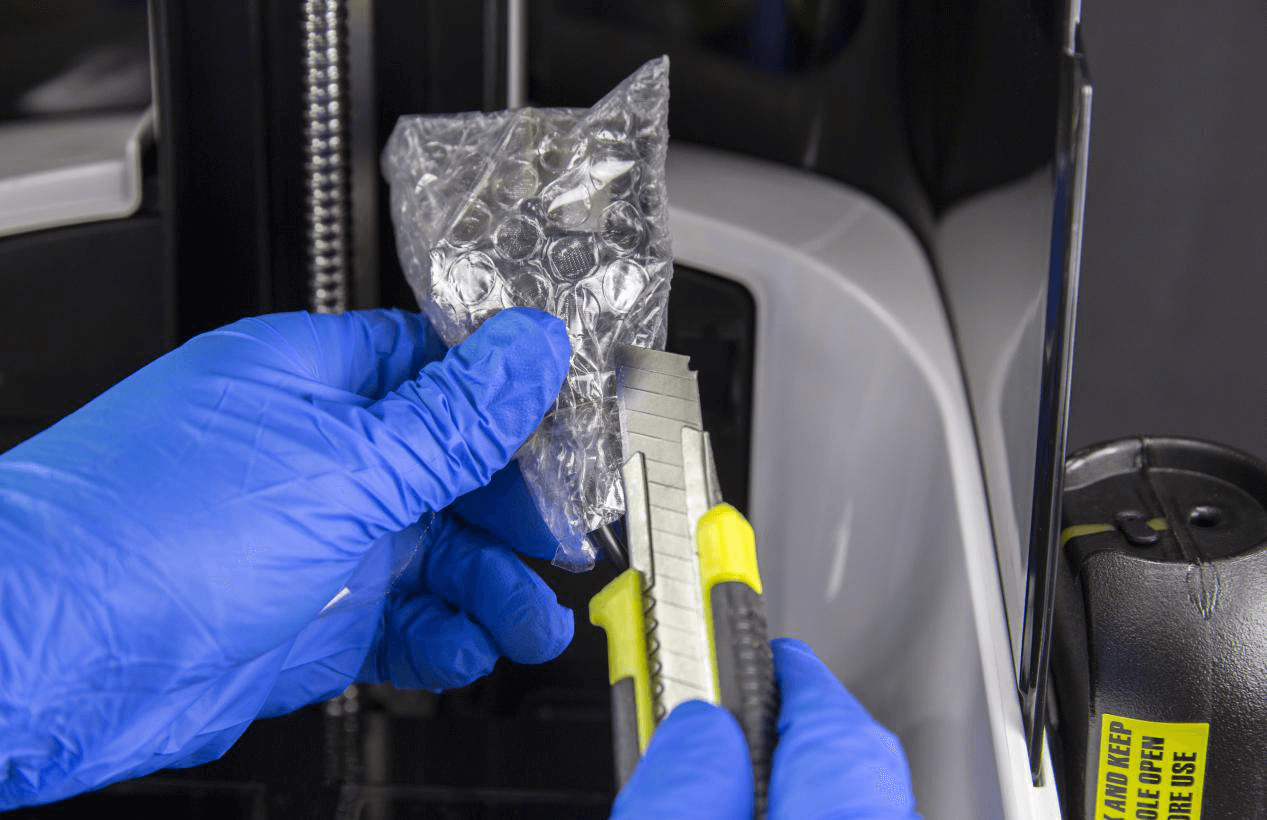
(2)Open up the shock-absorption package
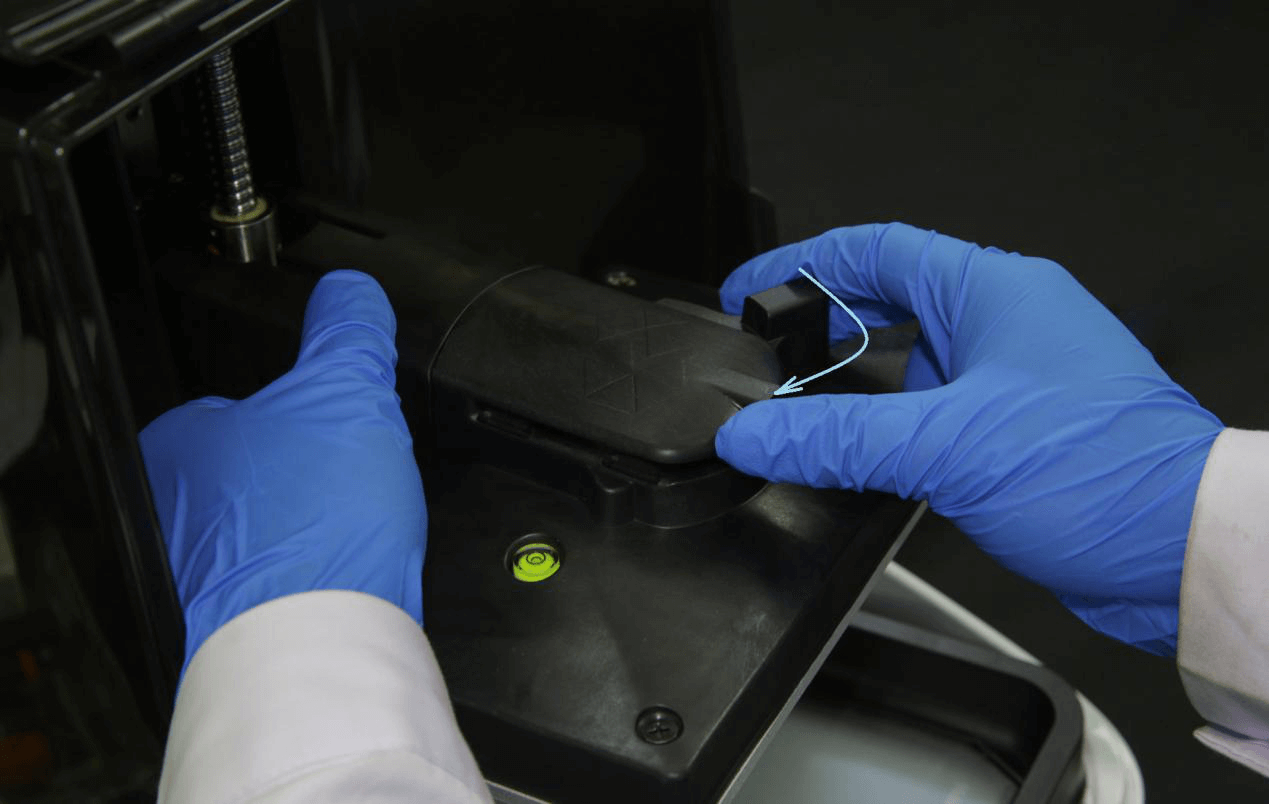
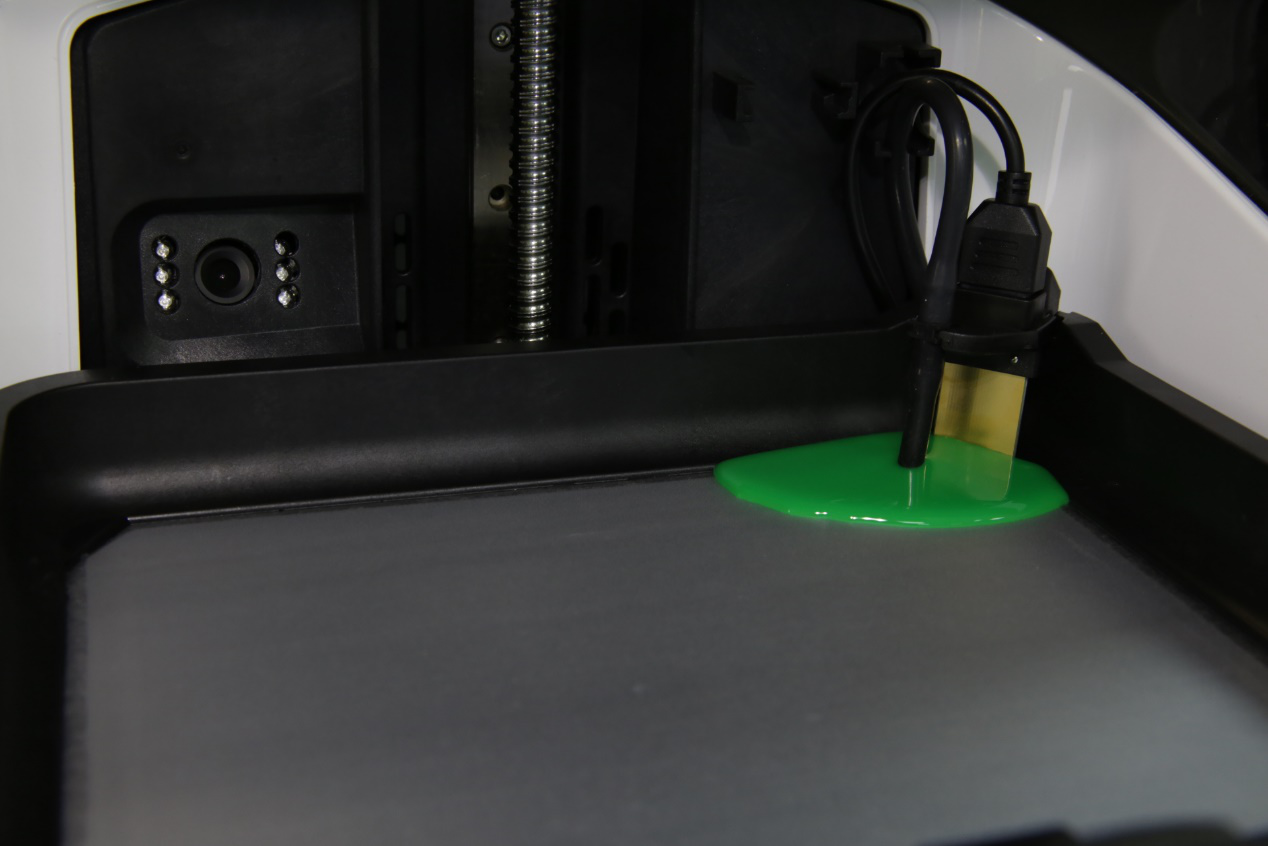
(3)Install the pump tube, insert the pump tube into the holder along the semi-circle rabbet.
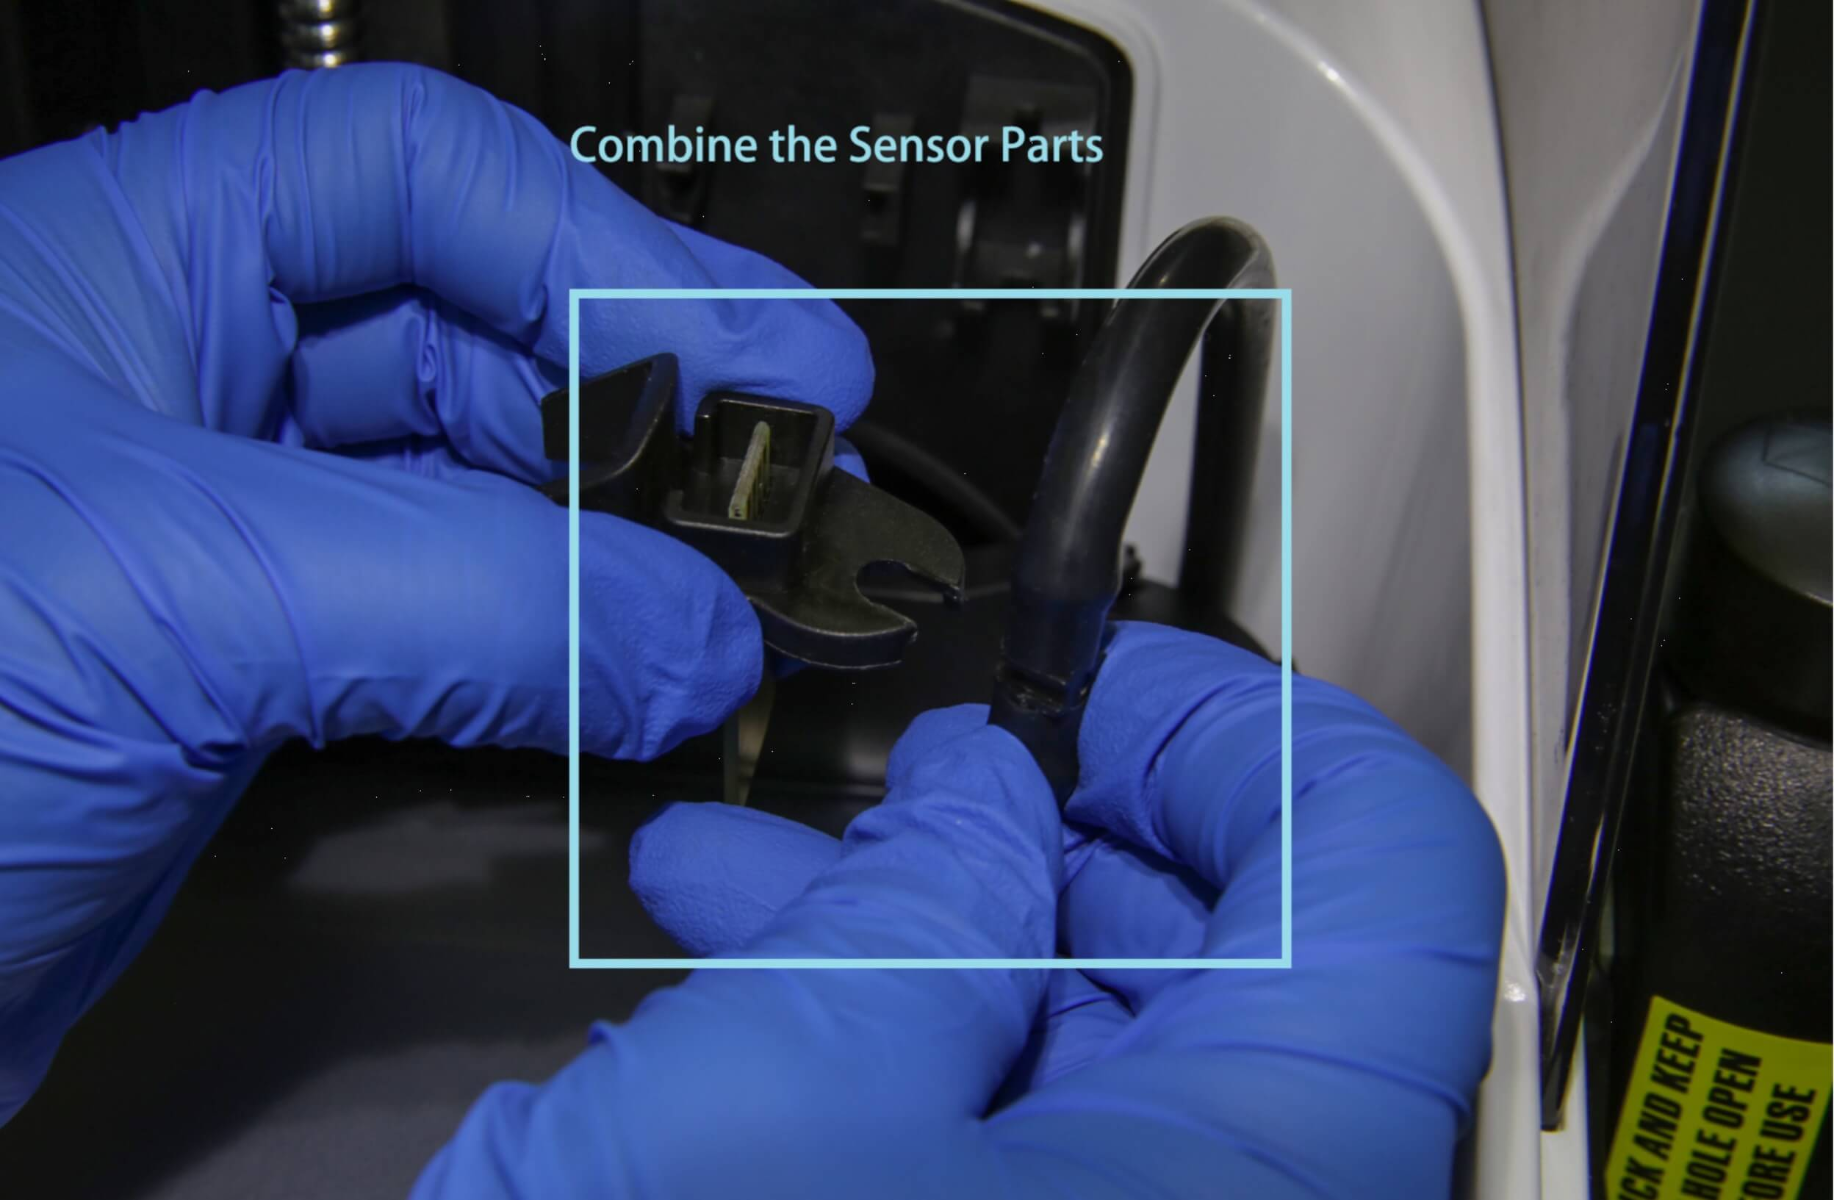
(4)Setup the liquid level sensor, insert the sensor cable.
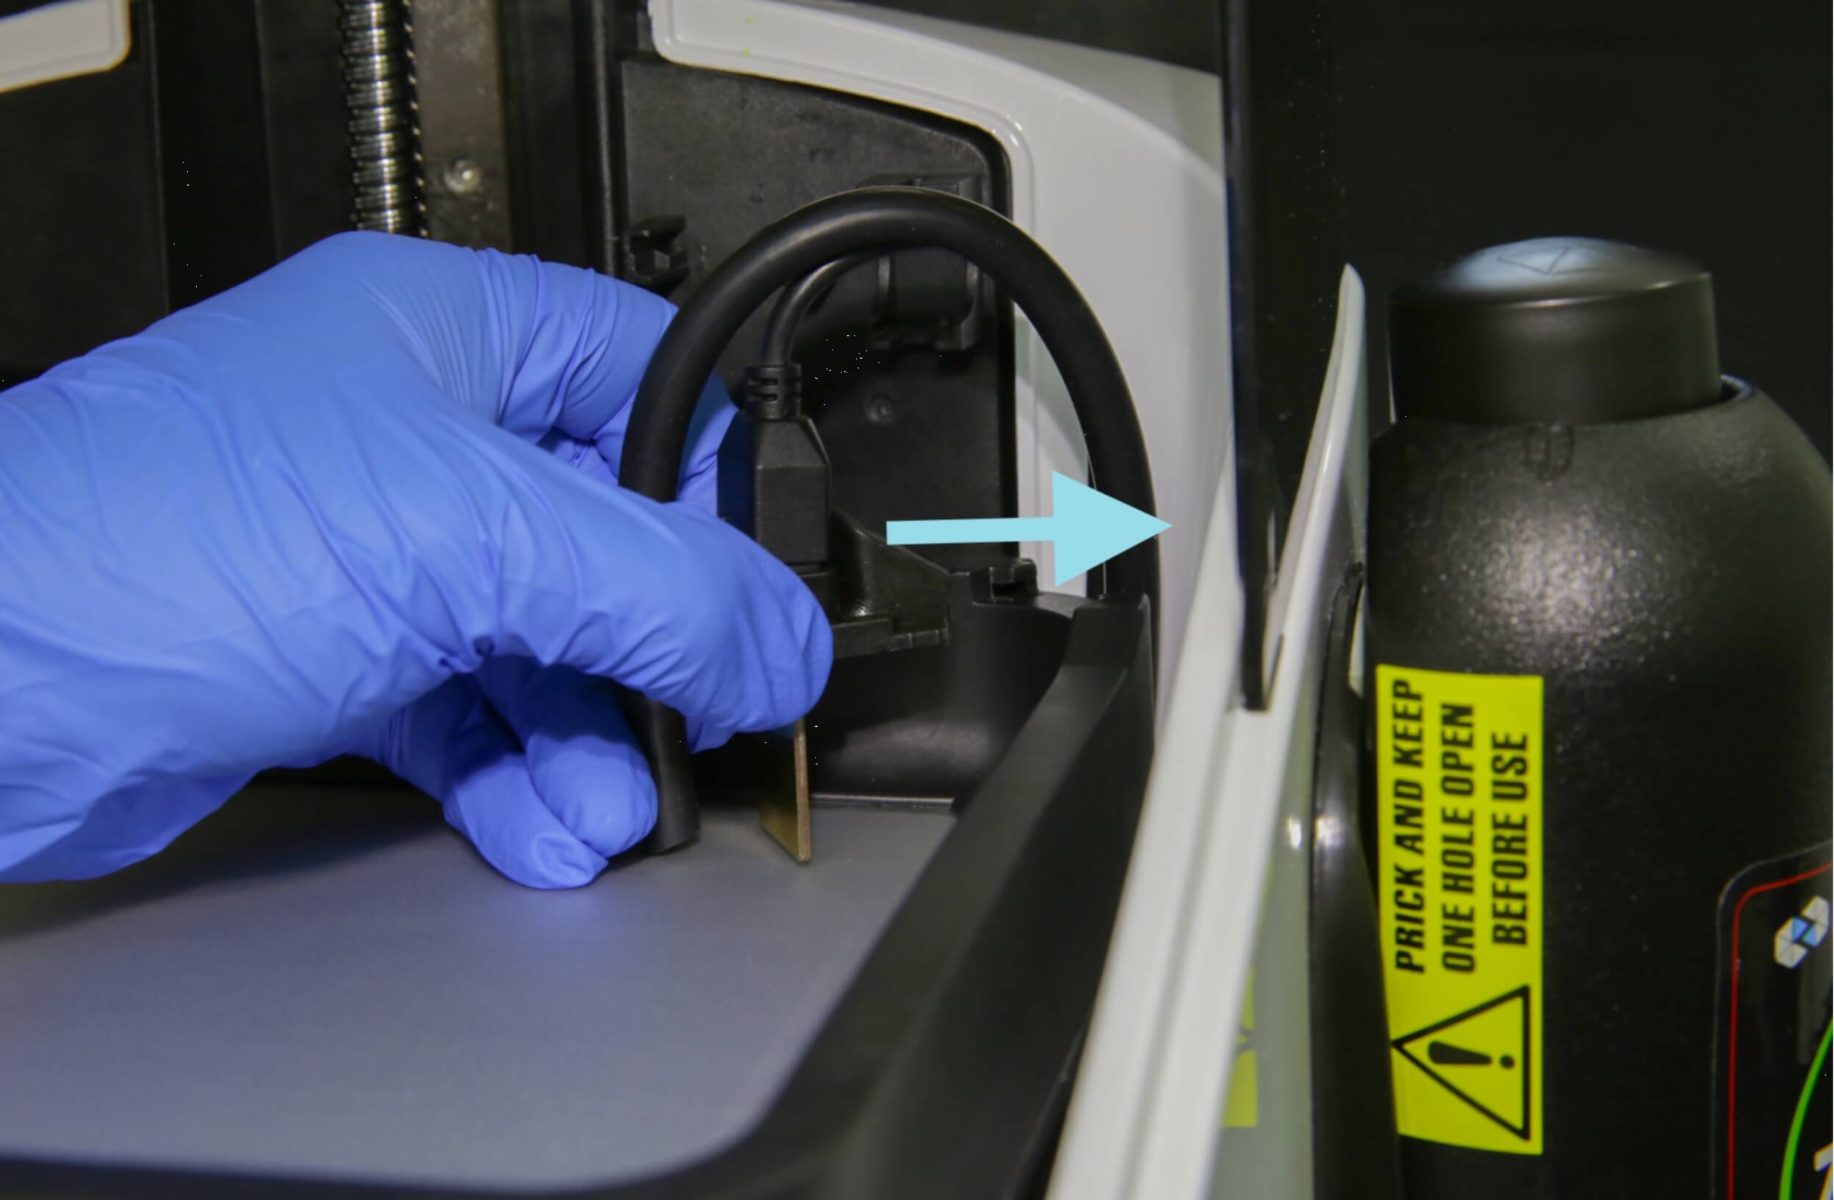
(5)Plug the holder into the positioning slot on the resin tank following the direction shown on the picture.
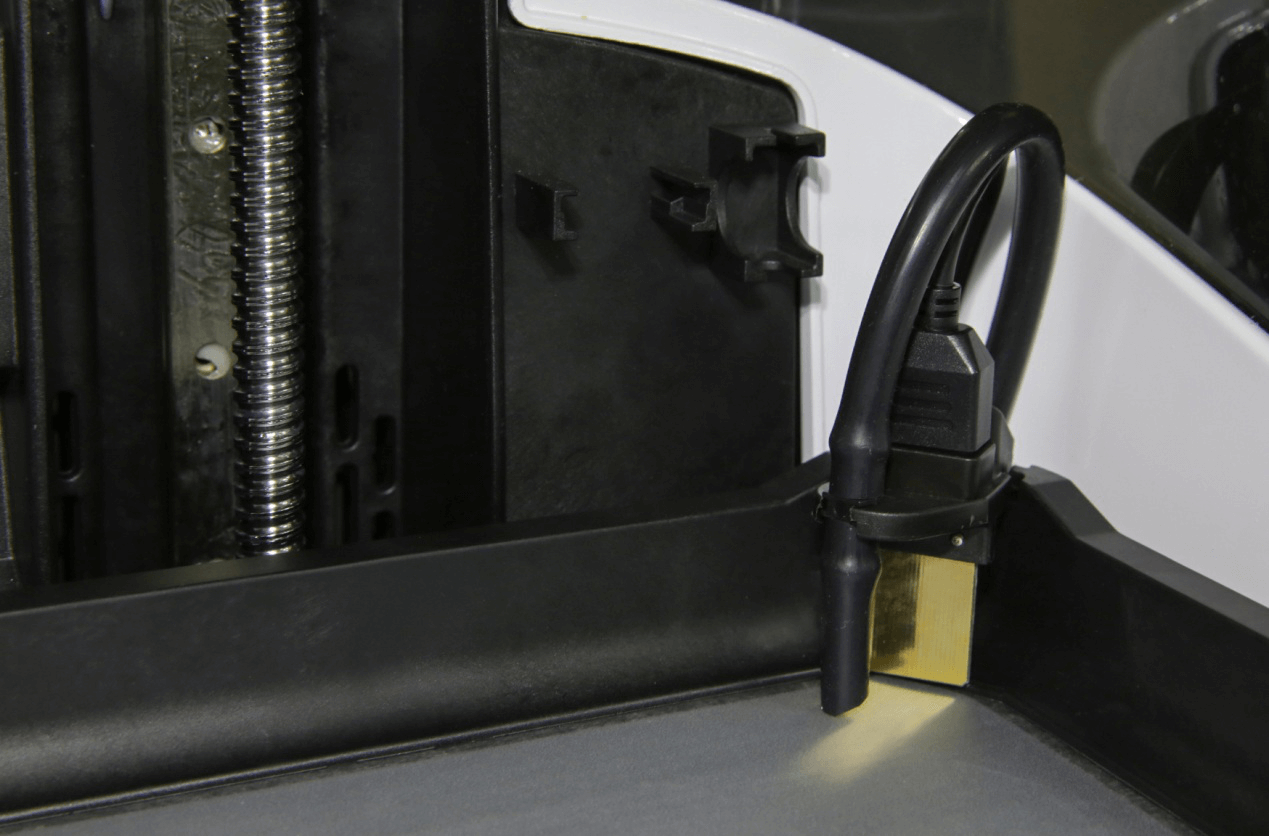
(6)Installation complete.
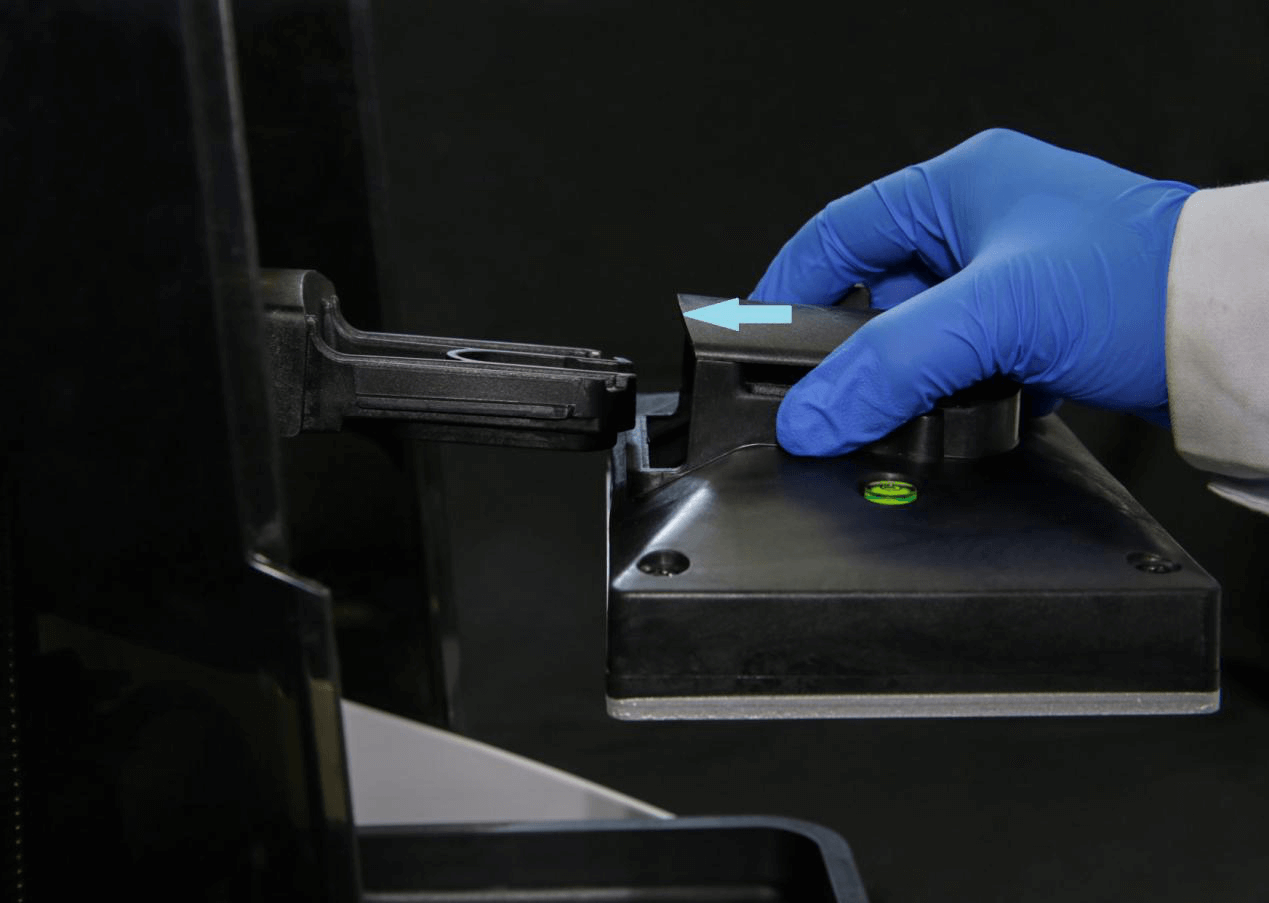
4.Installation of the building platform.
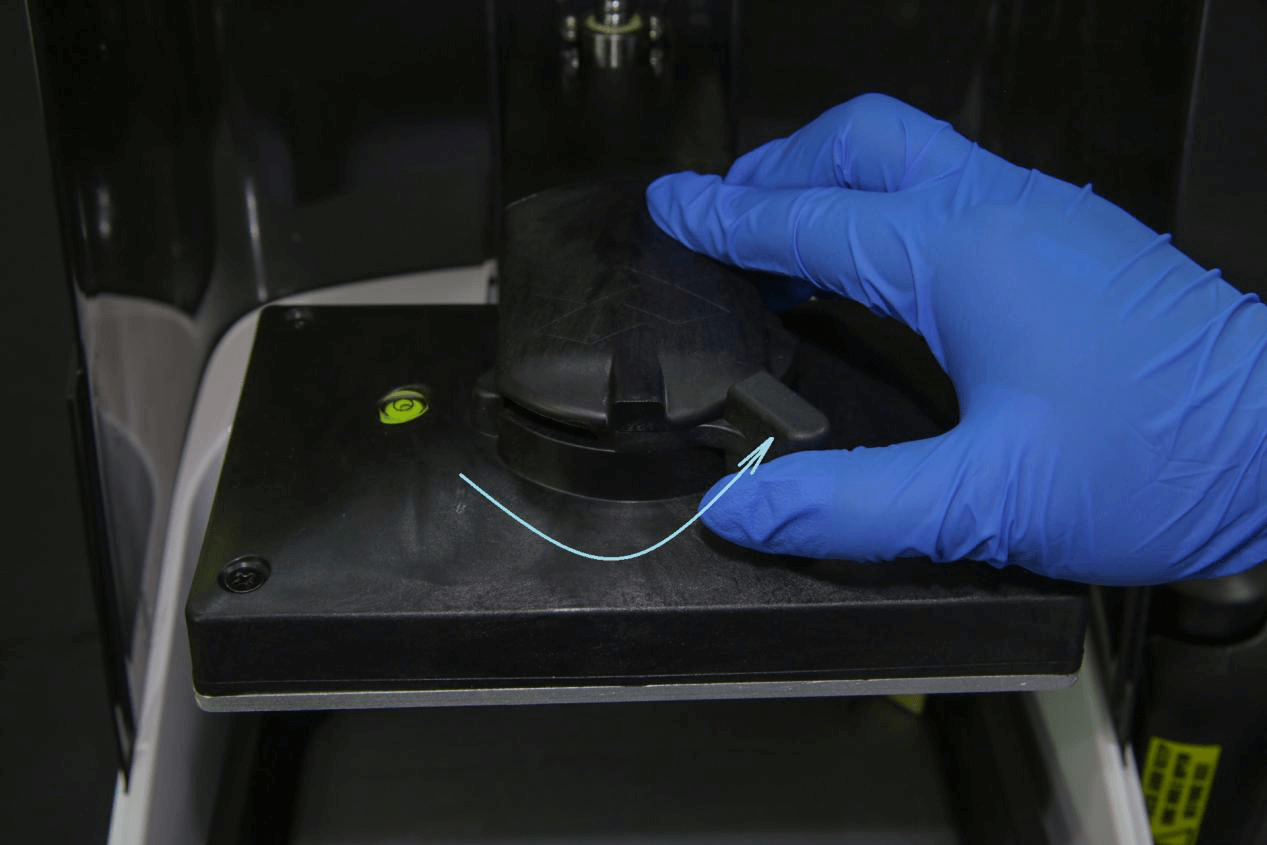
(1) Push the locking arm on the platform anticlockwise to the end to unlock the platform, clockwise to lock.

(2) Push the locking arm anticlockwise to the end to unlock the platform.
(3) Take down the platform.
(4) Install the platform when it’s at unlocked state.
(5) Plug in the platform.

(6) Push the locking arm clockwise to lock the platform.
(7) Installation complete

5. Installation of the cartridge
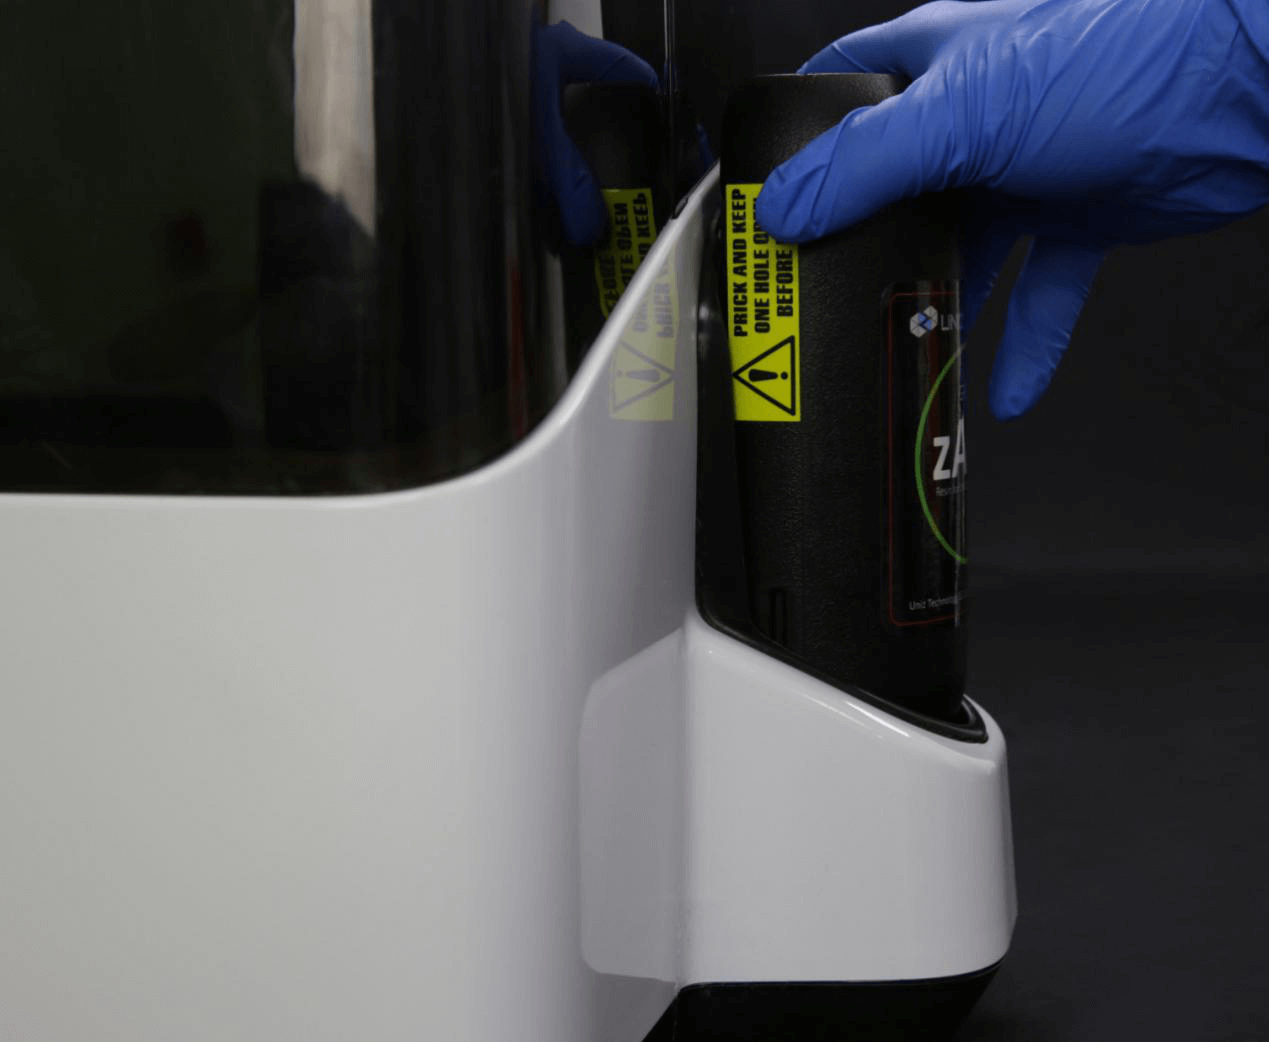
To install the cartridge, the resin bottle must be complete and inserted to the slot vertically.
(1) Slide guides inside the bottle holder.
(2) Guide slots on the resin bottle.

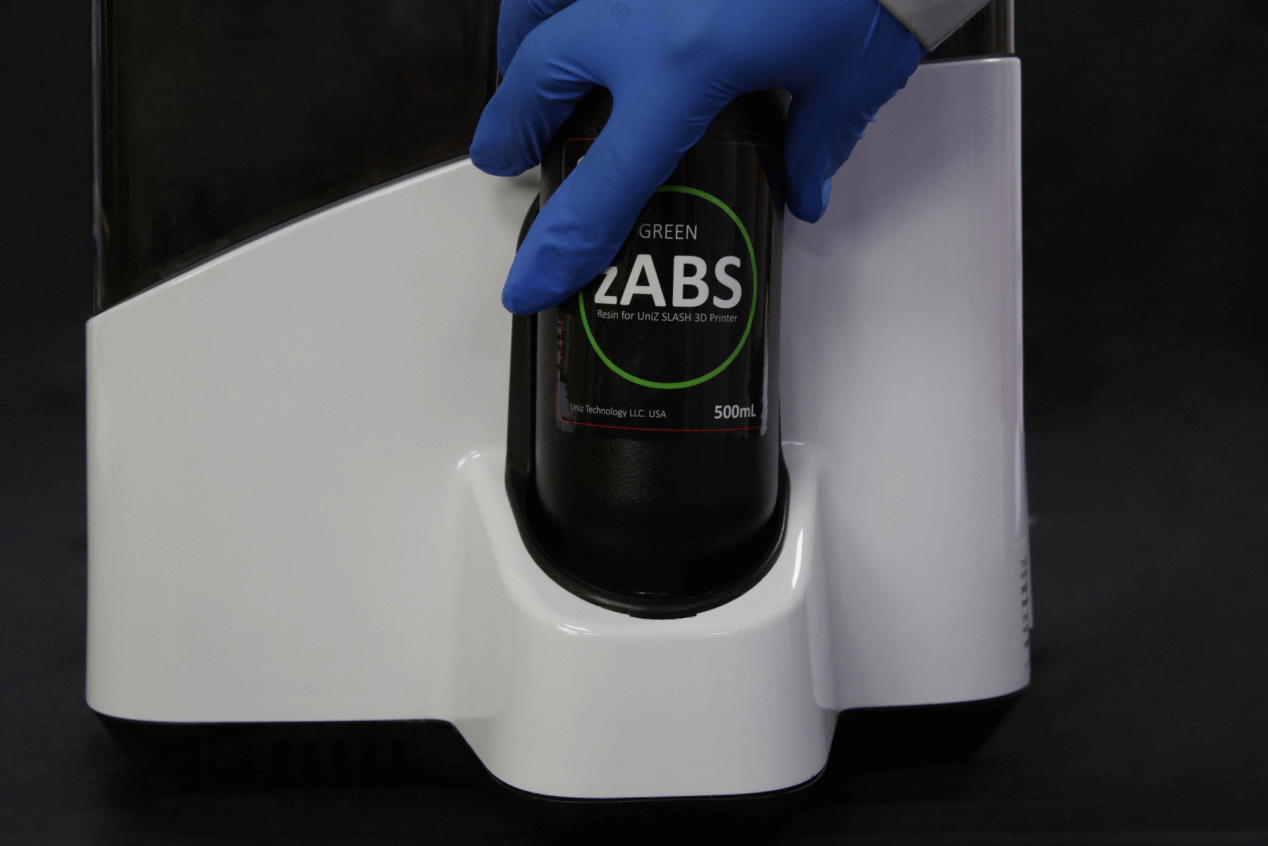
(3) Open up the bottle cap and insert the bottle into the holder along the guide
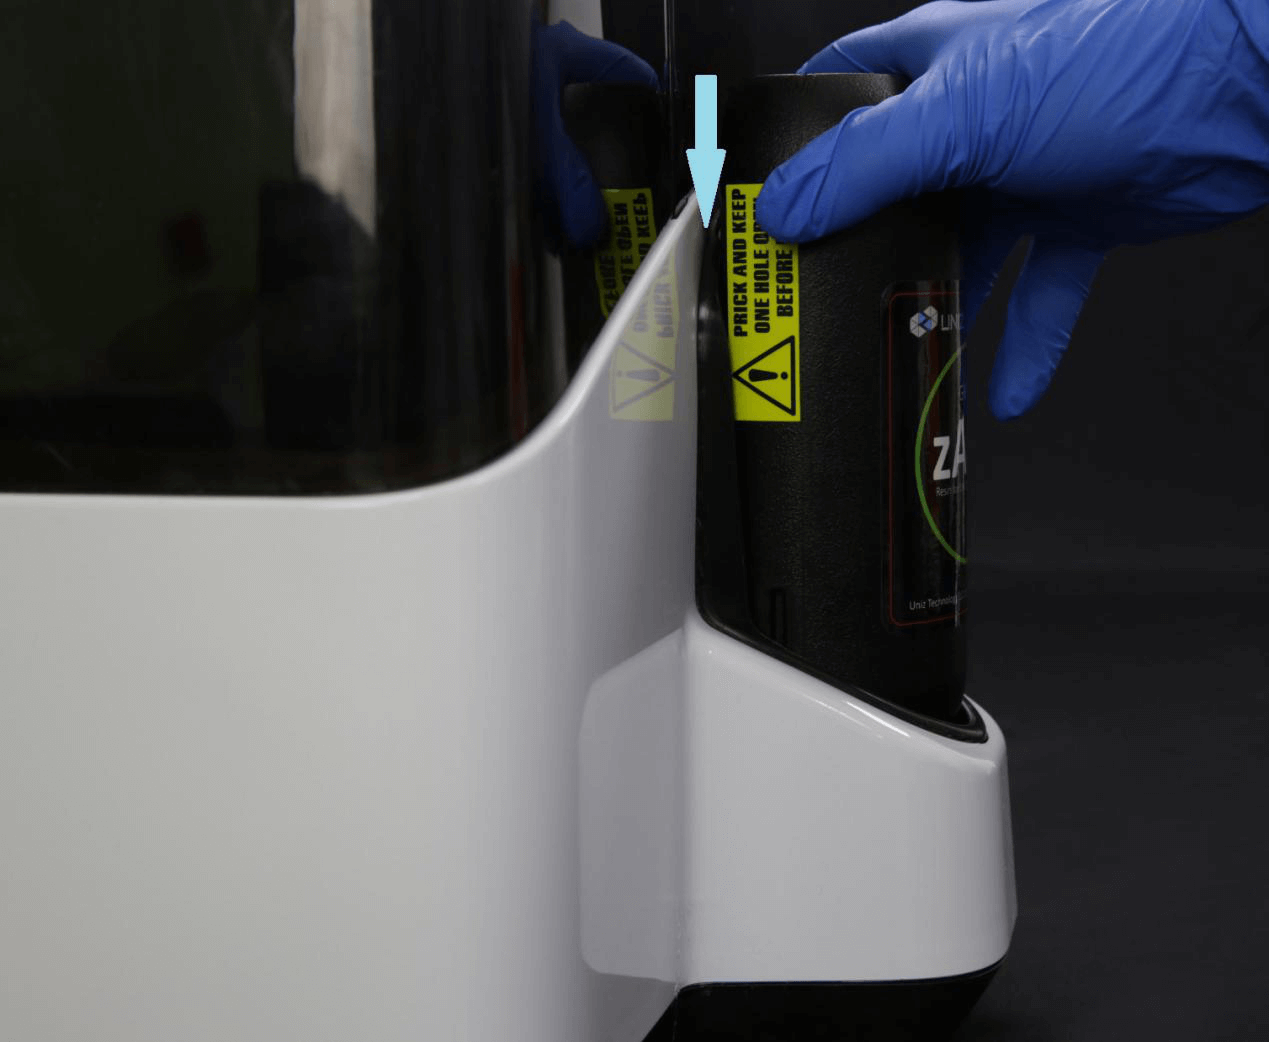
(4) Press until the pumping needle is completed into the resin bottle.
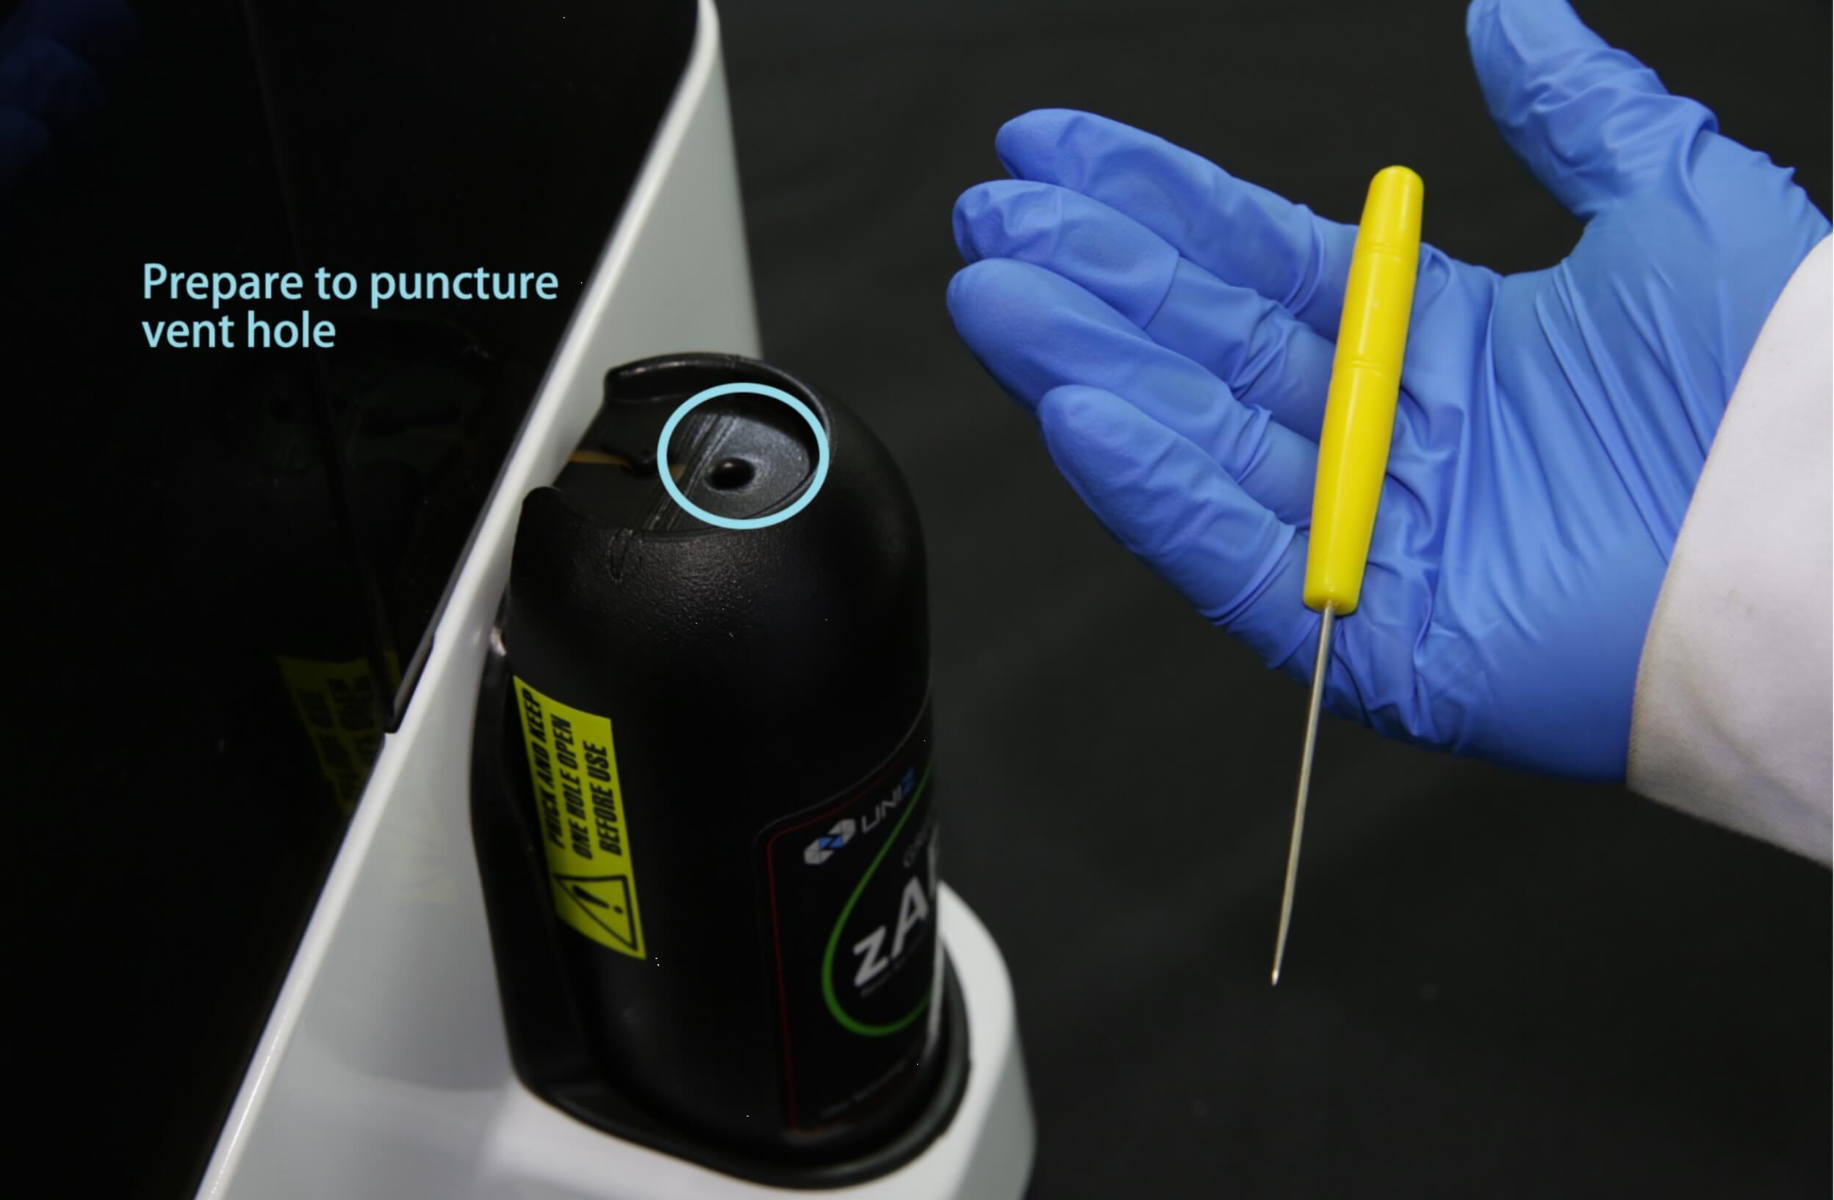
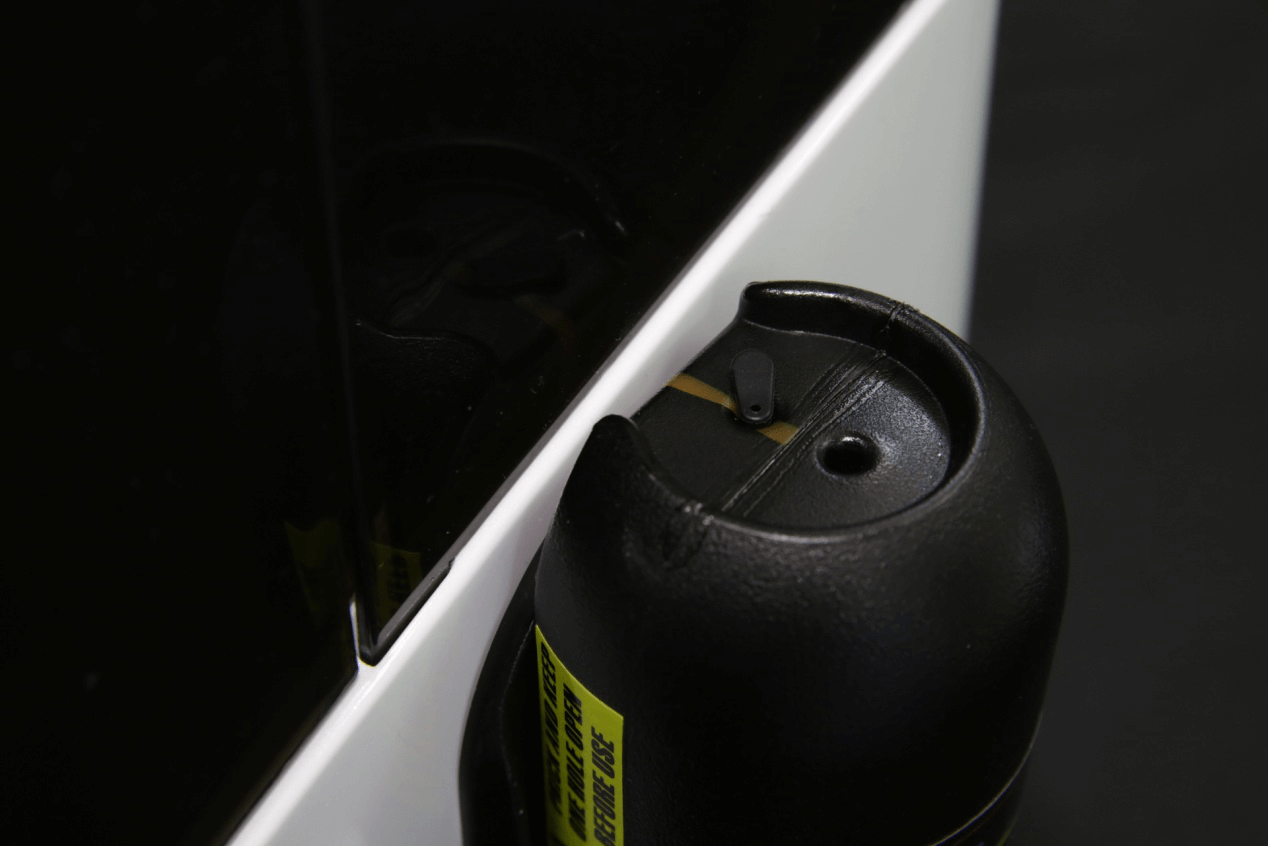
(5) Open up a vent hole with the awl
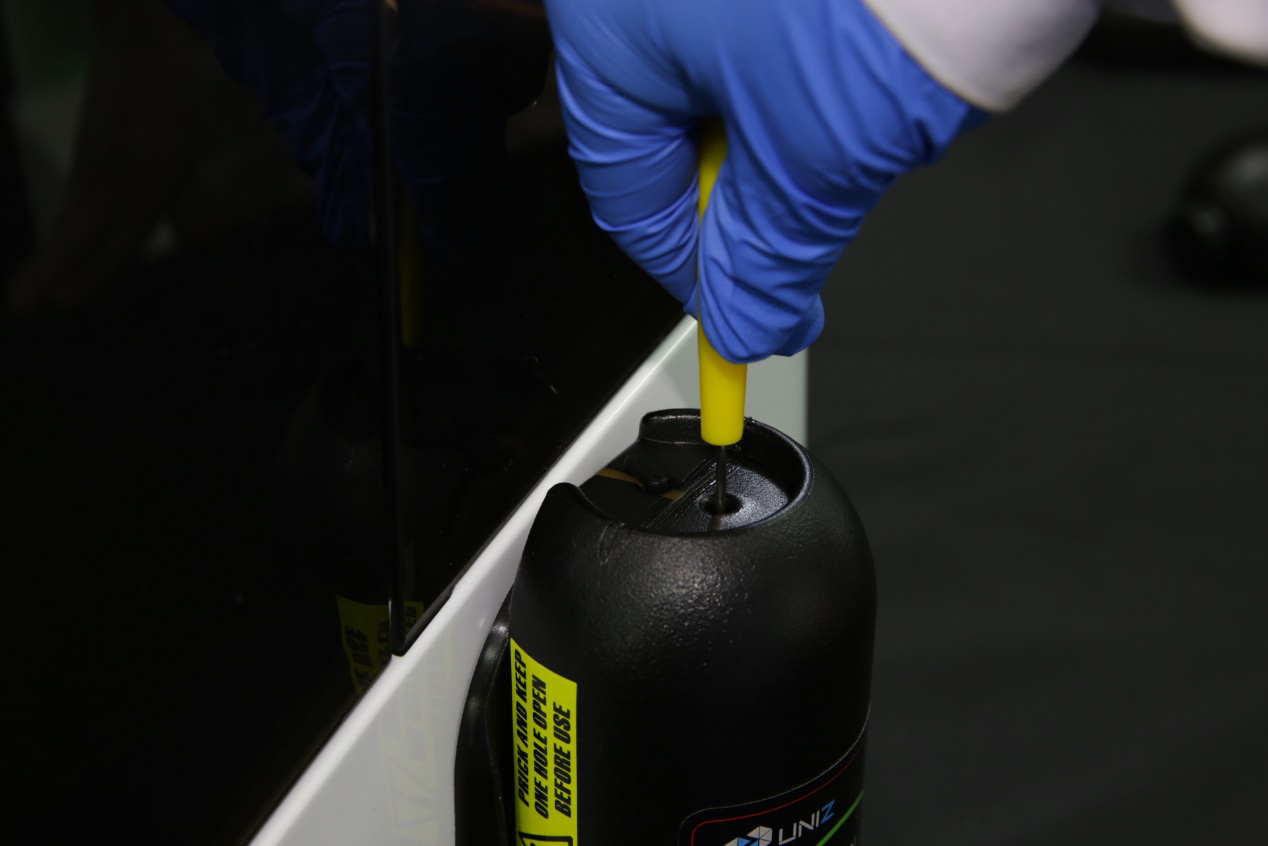
(6) Installation complete
6.2 Uninstall the cartridge
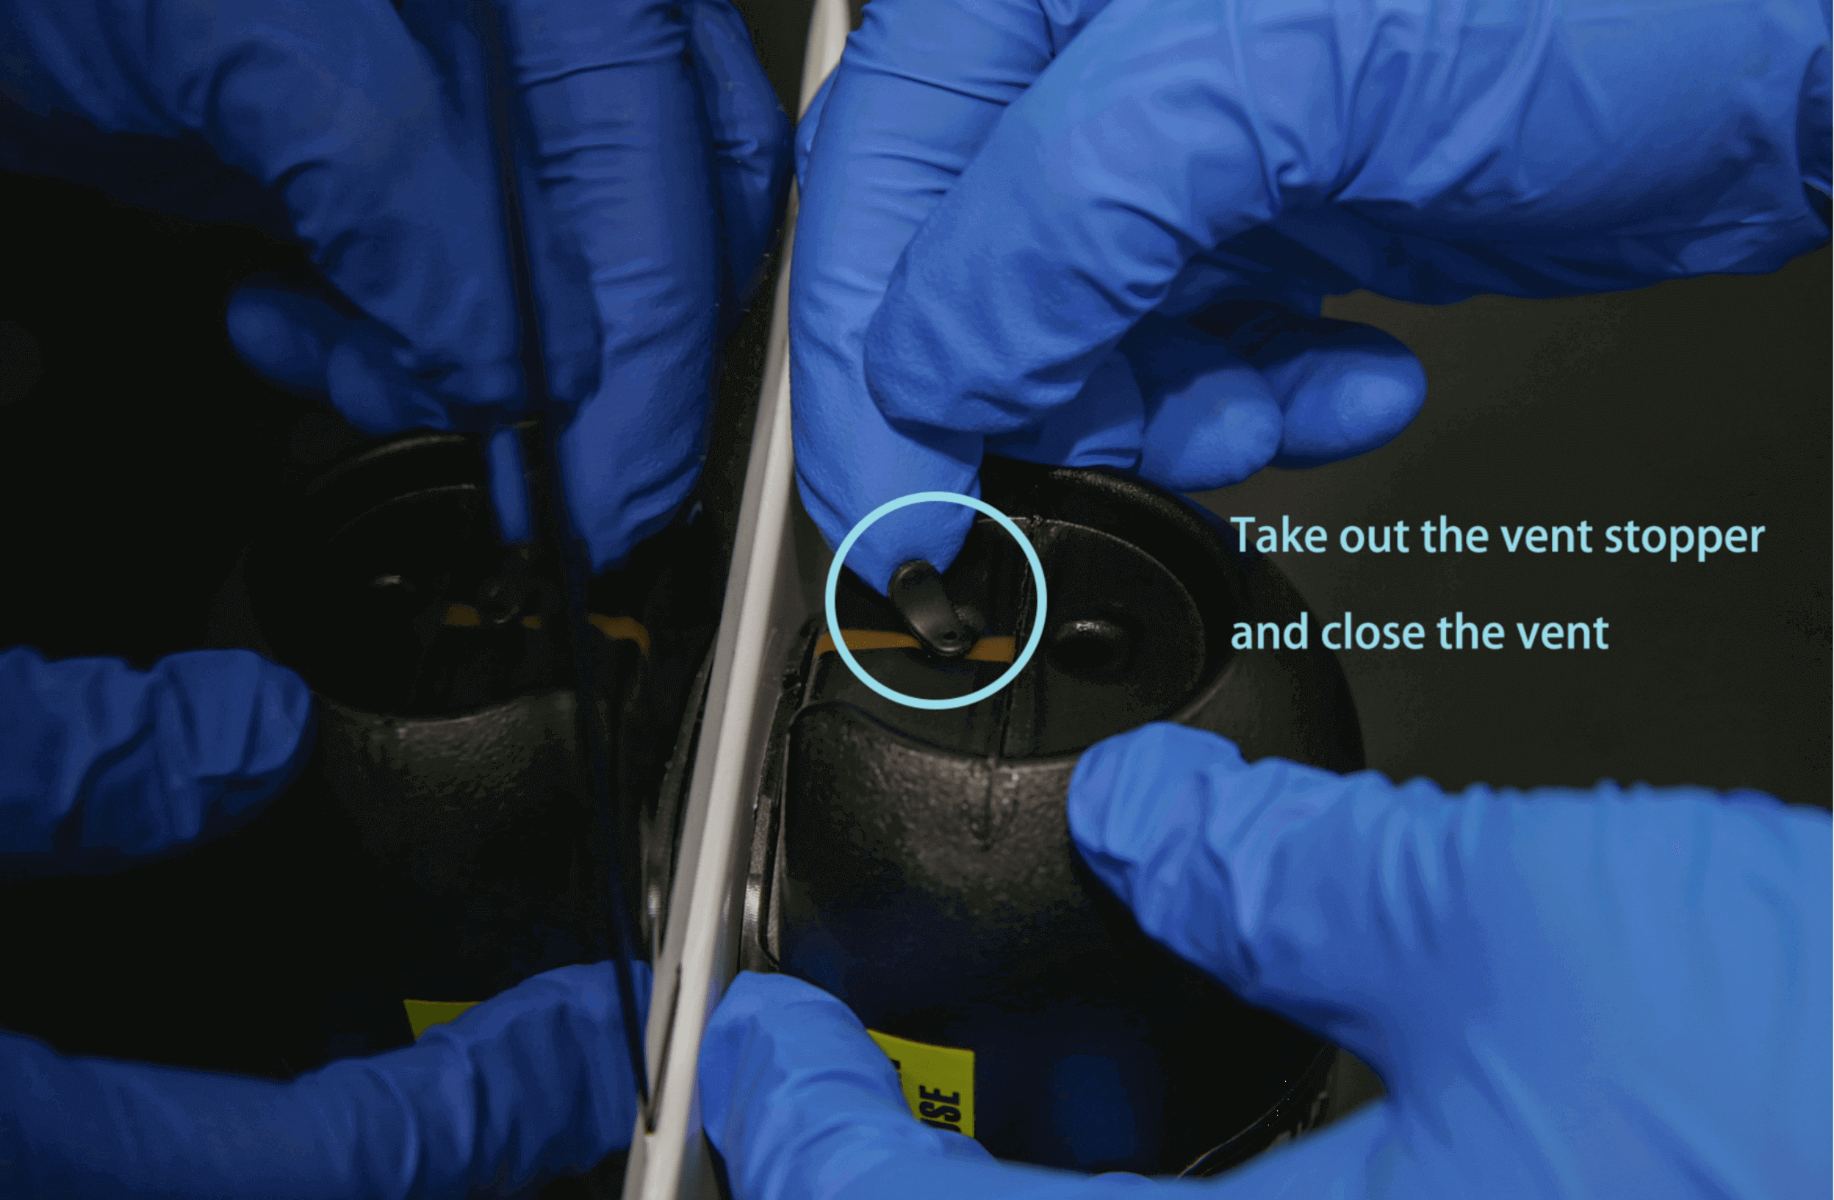
(1) Remove the vent stopper plug from the holding hole and place it into the opened vent hole to prevent leak.

(2) Vertically take out the resin bottle and store properly. The uninstallation is complete.
6. Resin Feeding.
Following will introduce how to use the Automatic Resin Feeding function.
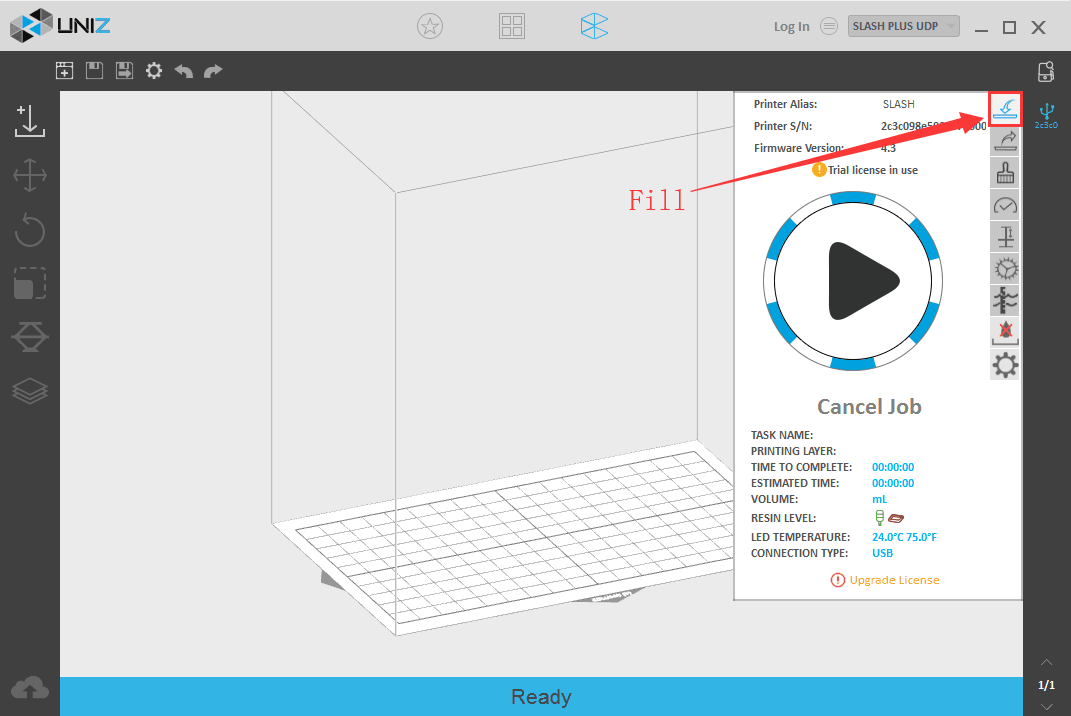
(1)In the software, click Fill
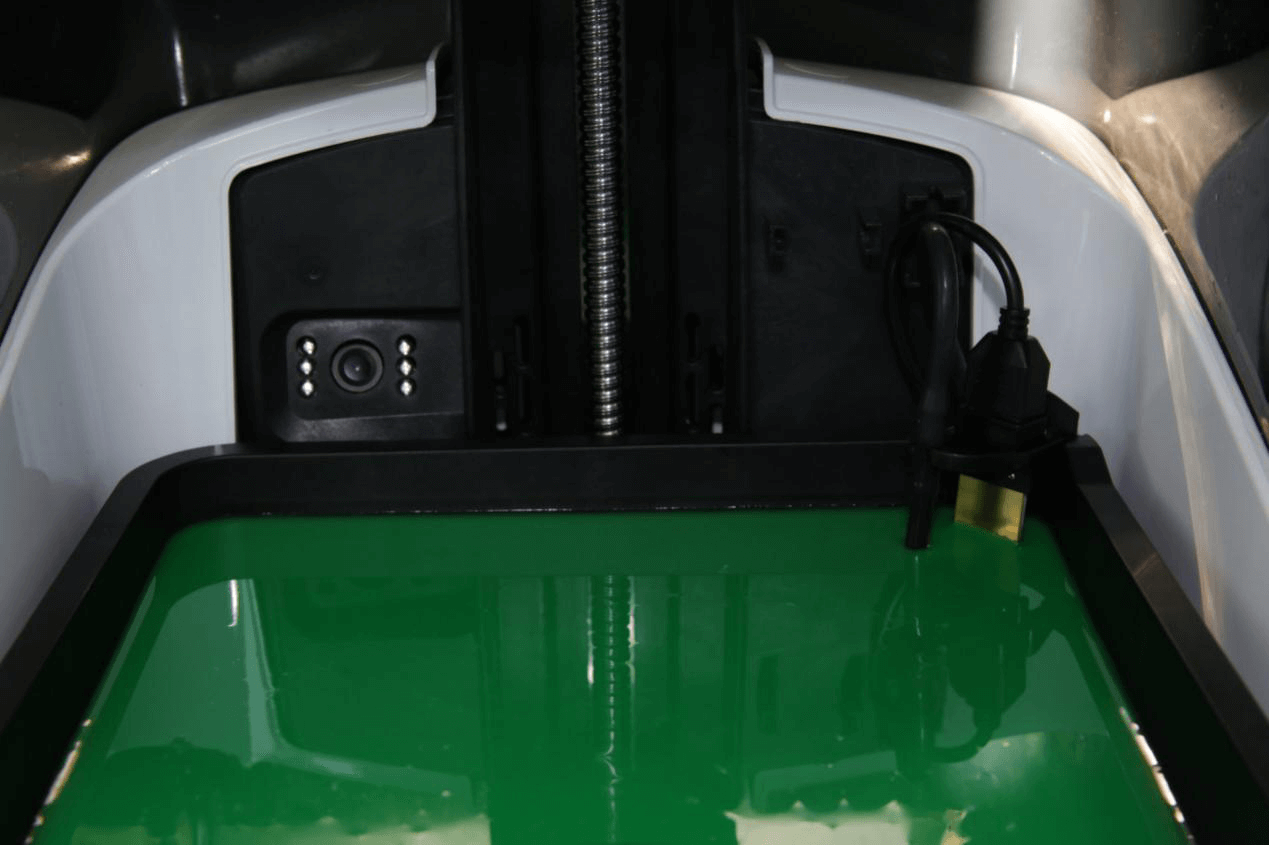
(2) Resin Feeding begins
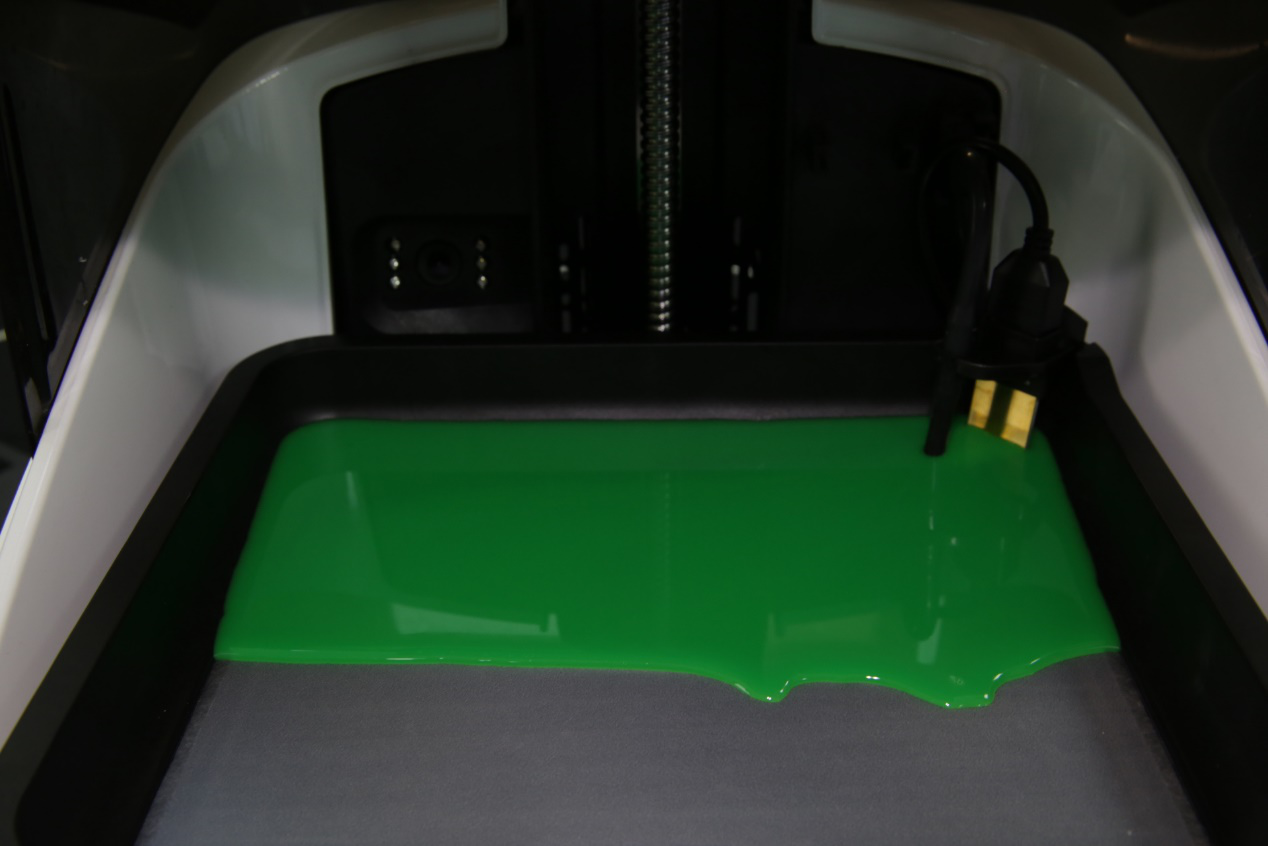
(3)When the resin level meets the requirements of the printing job, click the button again to stop resin feeding.
7.Unload the resin
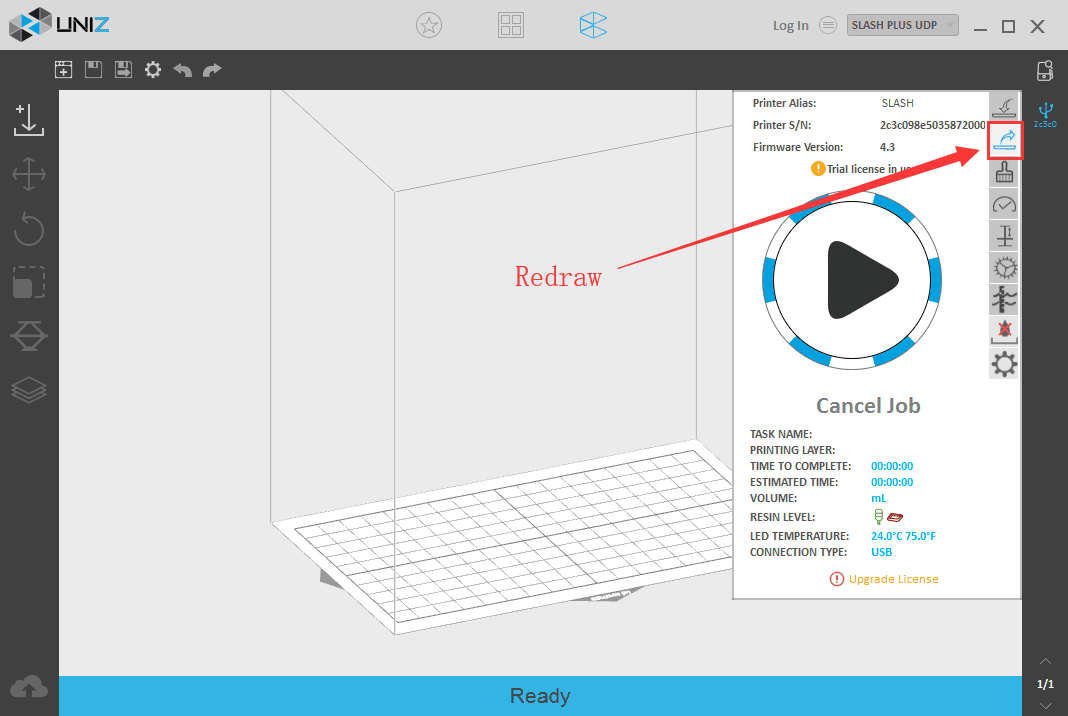
If the resin in the tank will not be used in a long period, use the Unload function to pump the resin back to the resin bottle.
(1) Click the Redraw button
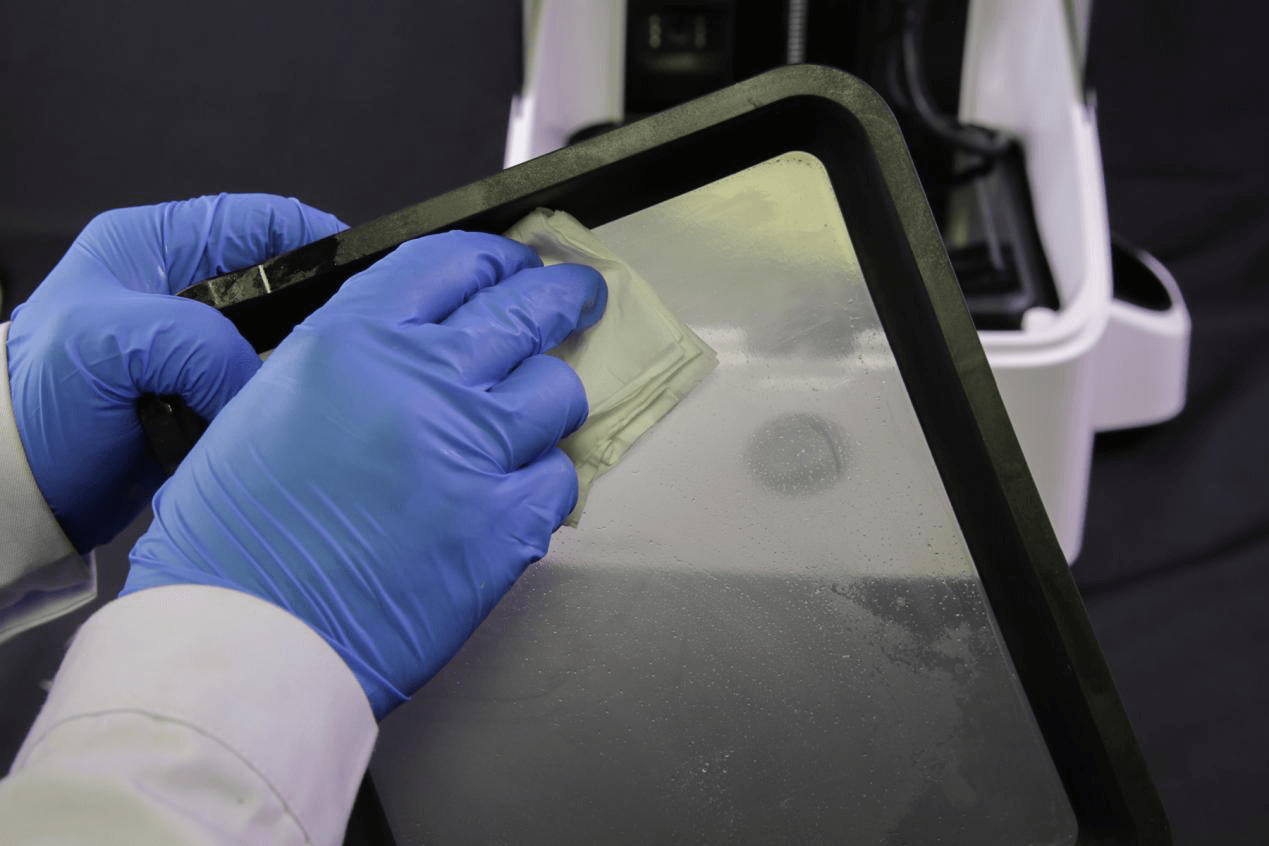
8.Clean the pumping tube and resin tank.
(1) Clean the pumping tube: pour liquid alcohol into the cleaning bottle.

(2) Use the Feed function to clean the resin residue inside the pumping tube with liquid alcohol and stop the feeding afterwards. Wipe clean the pumping tube and the liquid resin with napkins and remove the resin tank.
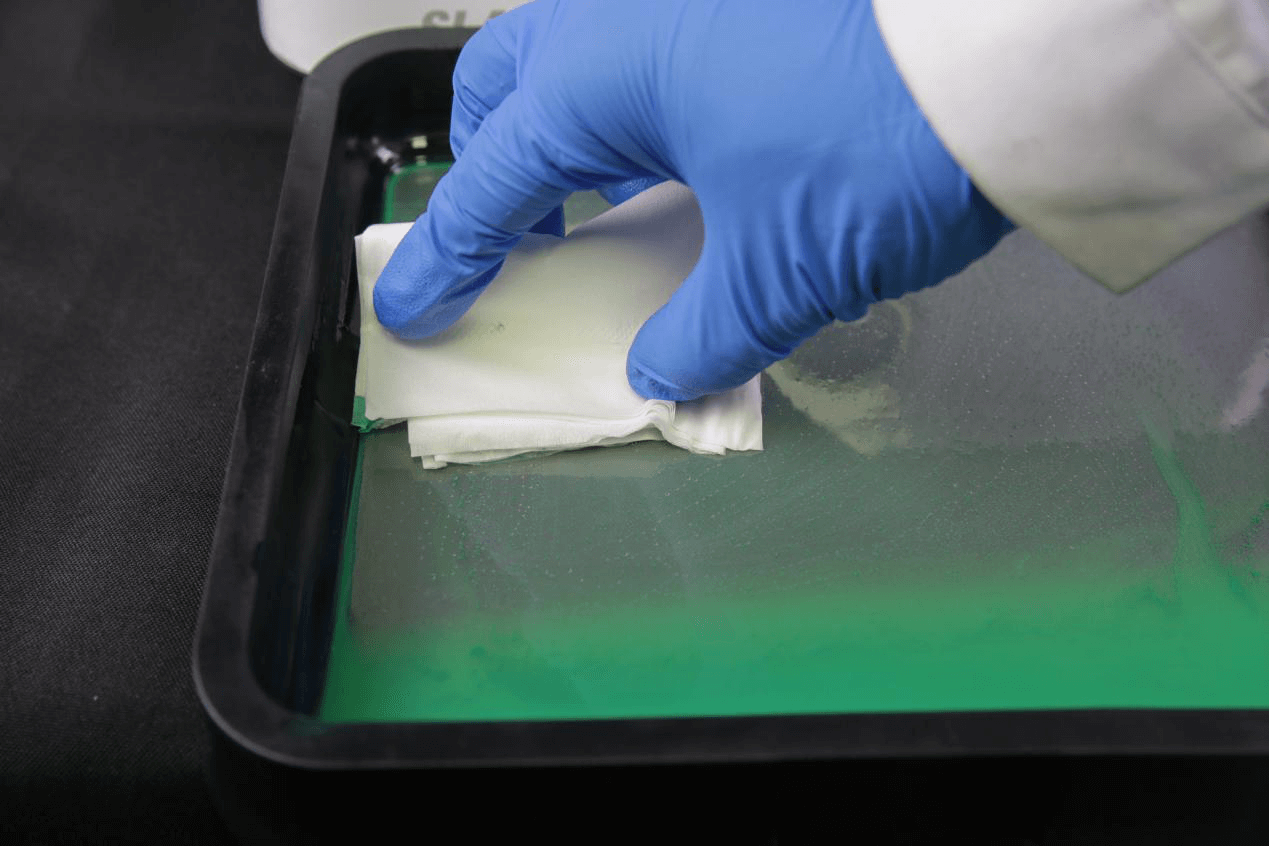
(3)Clean the resin tank
① After recycling the resin, pour liquid alcohol into the resin tank.
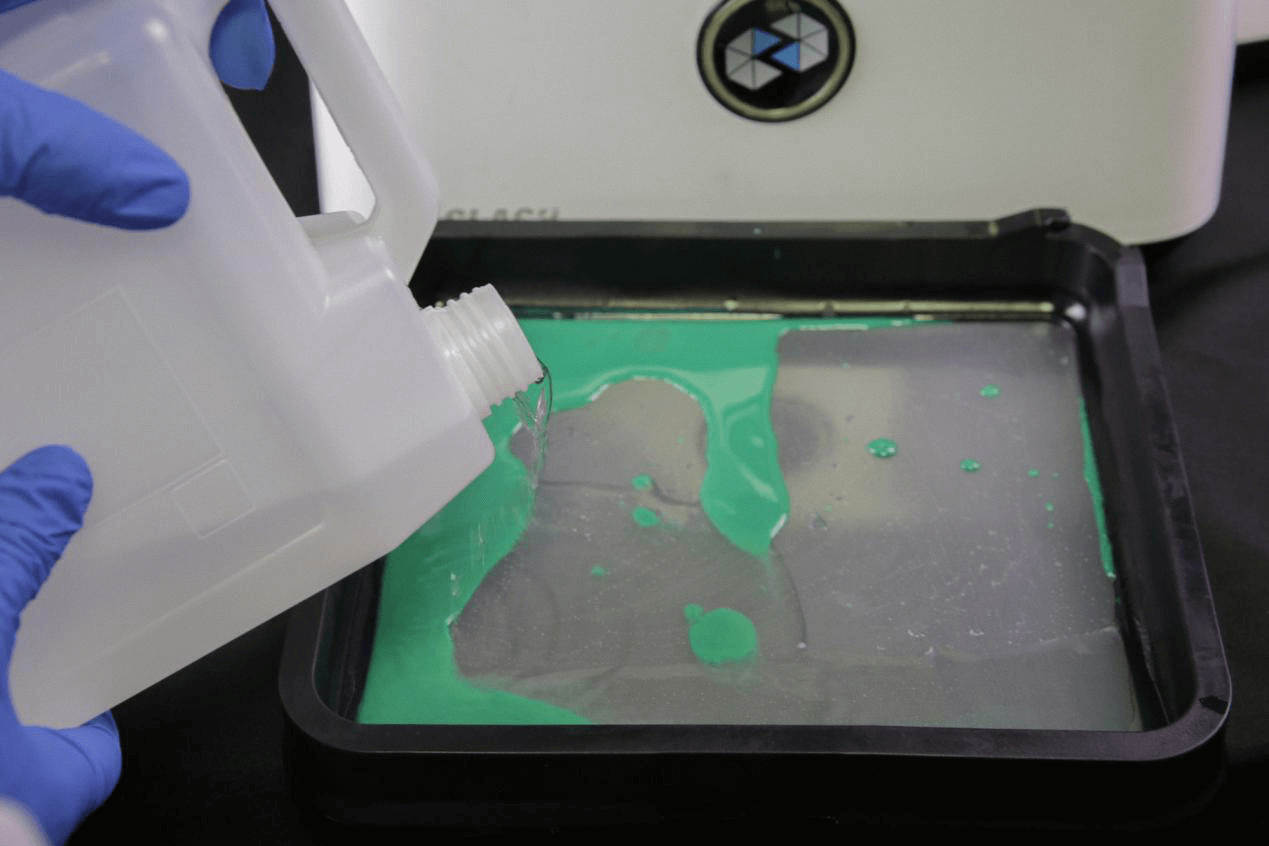
② Wipe the bottom of the tank with a clean wiper