The landscape will show more details
Unboxing
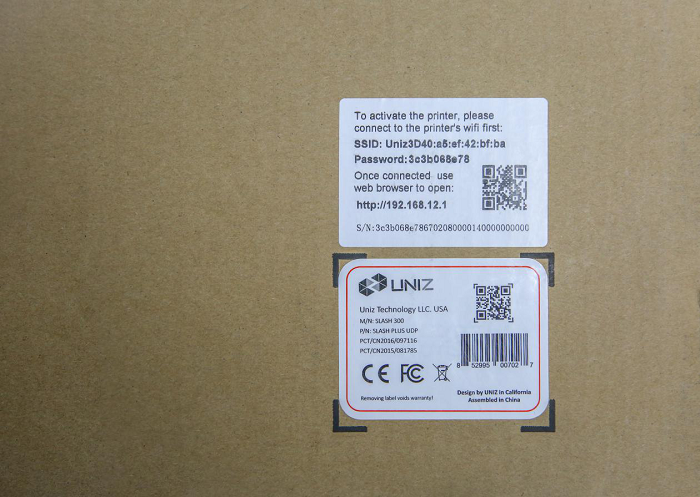
1. Before unboxing, please make sure if the box is impact without any obvious crack and check if there is a “Printer Info Label “tabbed on the box.
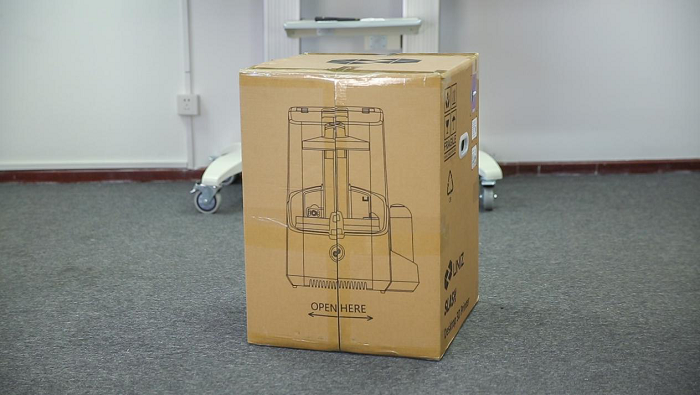
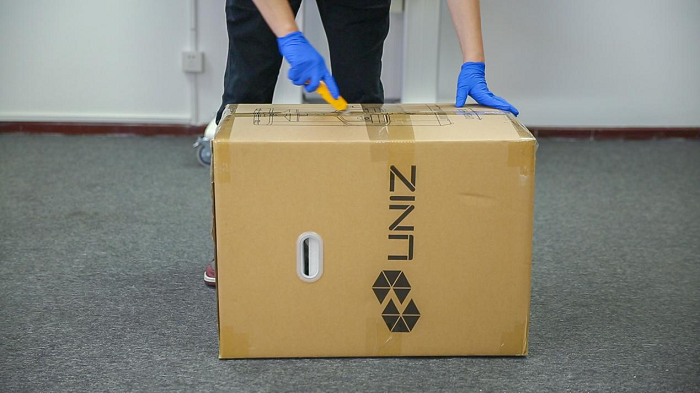
2. Place the carton horizontally with the “OPEN HERE “facing upward, after cutting the sealing tape.
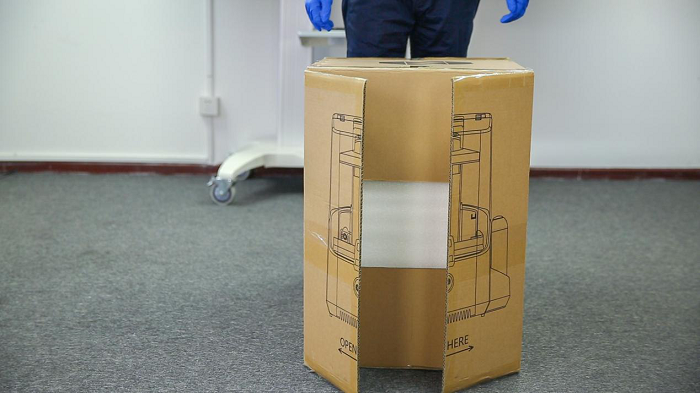
3. Pull the printer out by the handle downside of the box.
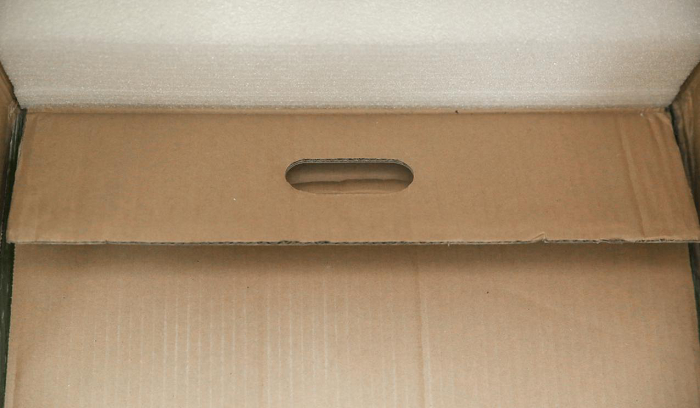
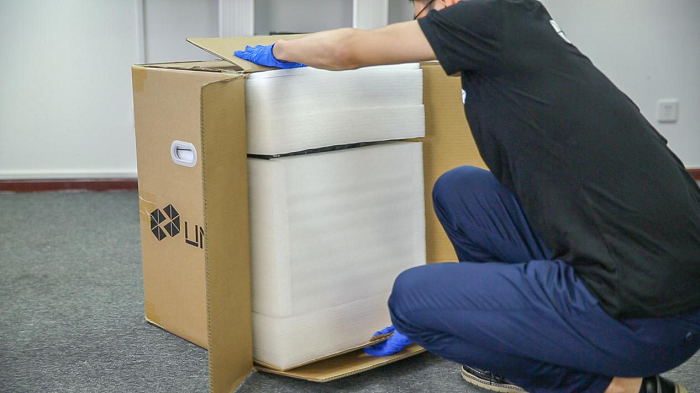
4. Remove the protective foam lid on the top.
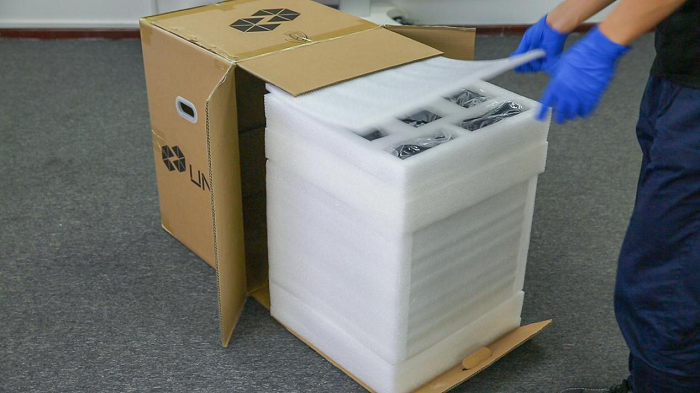
5. Lift the accessories case and put it aside.
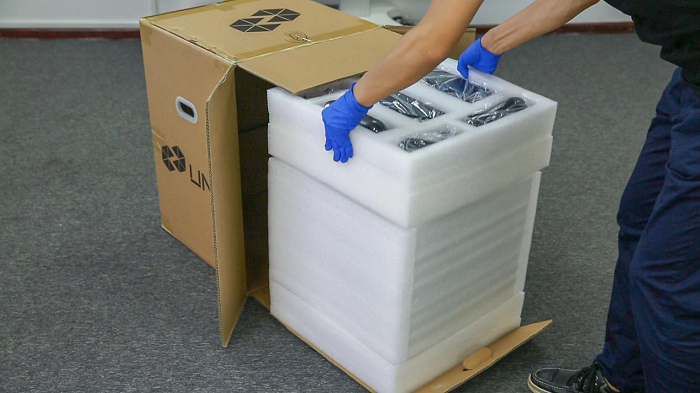
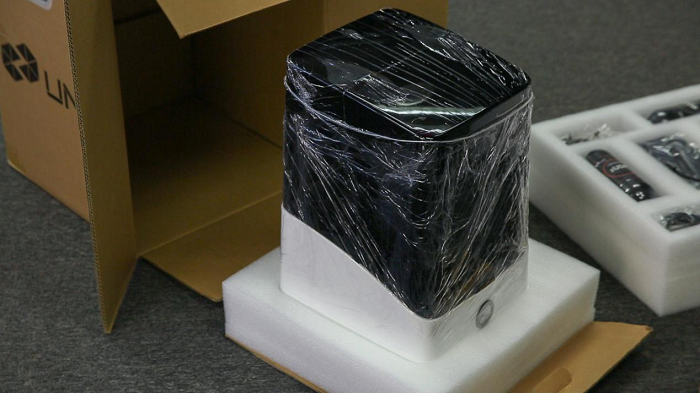
6. Take out the printer.
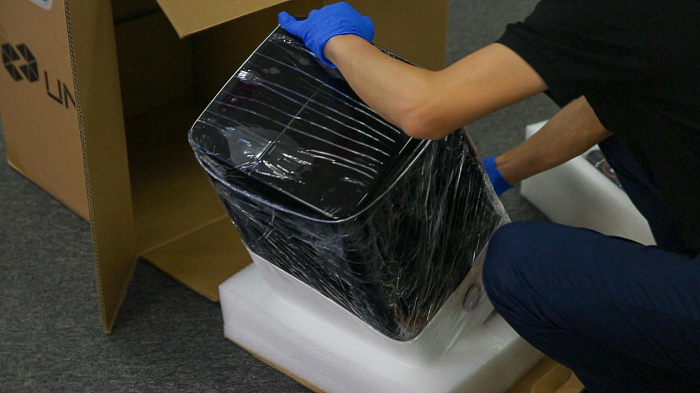
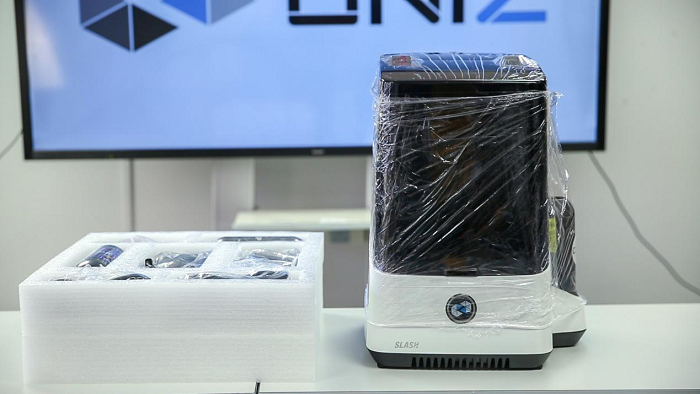
7. Place the printer and accessories case on the table and check if accessories are complete.
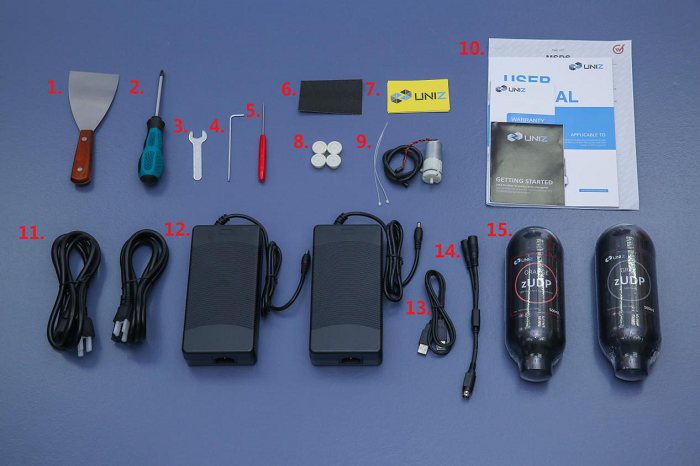
| NO. | NAME | PCs | USAGE |
| 1 | Scraper | 1 | Removing the model from the platform after printing. |
| 2 | Screwdriver | 1 | Dissembling the printer. |
| 3 | Spanner | 1 | Dissembling the printer. |
| 4 | Hexagon wrench | 1 | Dissembling the printer. |
| 5 | Awl | 1 | Opening a vent hole on the bottom of resin bottle. |
| 6 | Sandpaper | 1 | Polishing the surface of the platform. |
| 7 | Scraping cards | 5 | Stirring the resin in the resin tank,scraping the debris at the bottom of the resin tank, and cleaning the residual after using the full screen cleaning function. |
| 8 | Resin bottle plug | 4 | Sealing the resin bottle. |
| 9 | Vacuum pump component | 2 | Replacing the vacuum pump. |
| 10 | User manual | 1 | Quick understanding how to use the printer. |
| 11 | Power cable | 2 | Supplying power |
| 12 | Adapter | 2 | Transforming electricity. |
| 13 | USB cable | 1 | Connecting the printer and computer. |
| 14 | 2-in-1 converter | 1 | Connecting two adapters to the printer. |
| 15 | Resin bottle | 2 | Printing |
The Previous Articles
- Unboxing
- Boxing
- Printer Visual Inspection
- Setting Up Your Printer
- Printer Installation
- Preprint Detection
- Check The Film Of Resin Tank
- Printing and Maintenance
- Exposure Area and Printing Parameters Setting
- Aftercure
- Maintenance Manual
- How to Release Pressure in Screen Cooling System of SLASH
- Trouble Shooting


